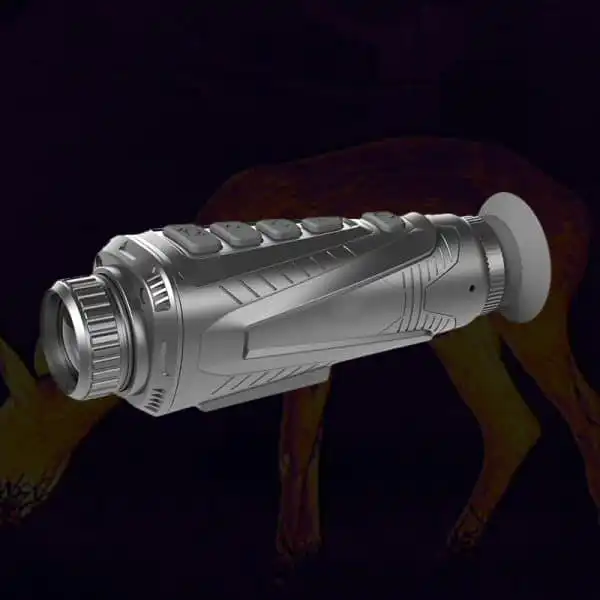
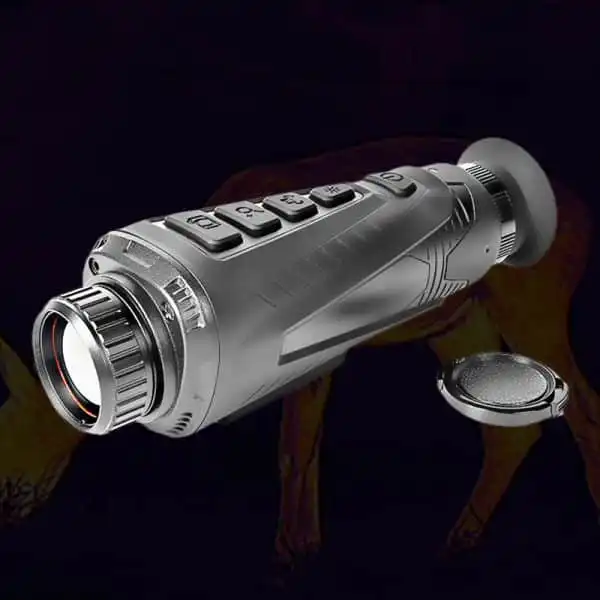
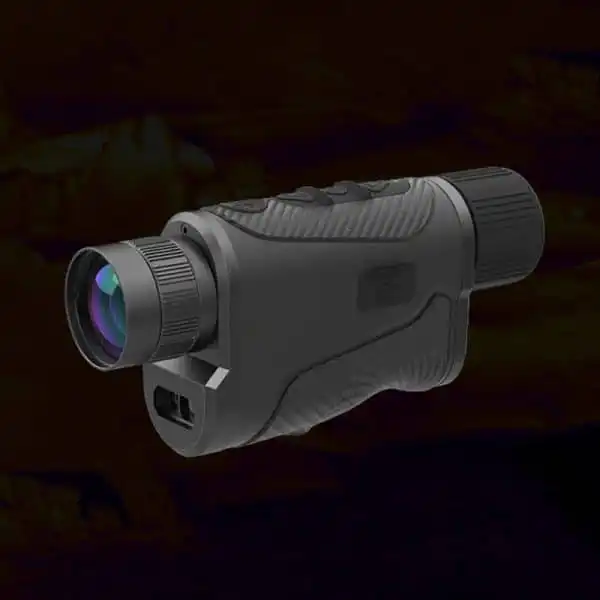
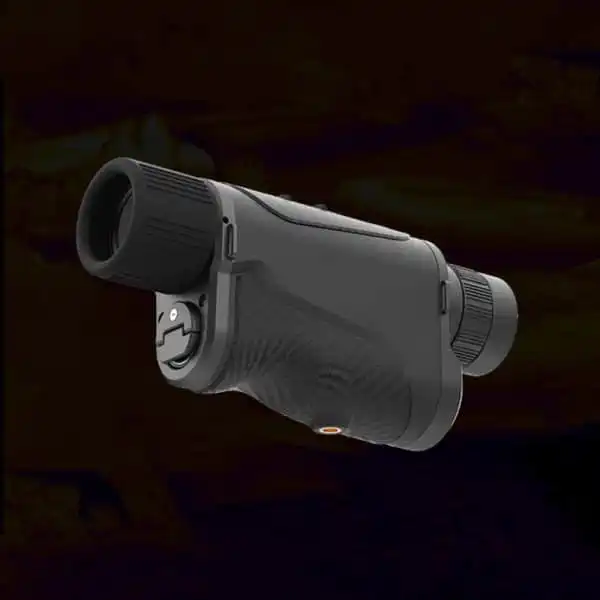
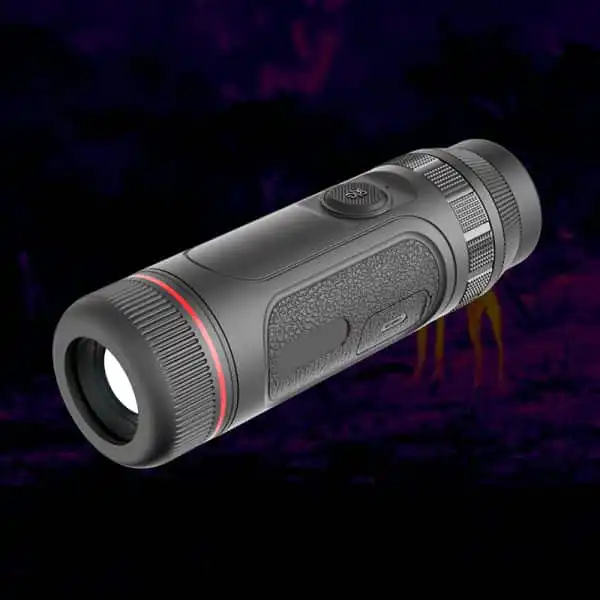
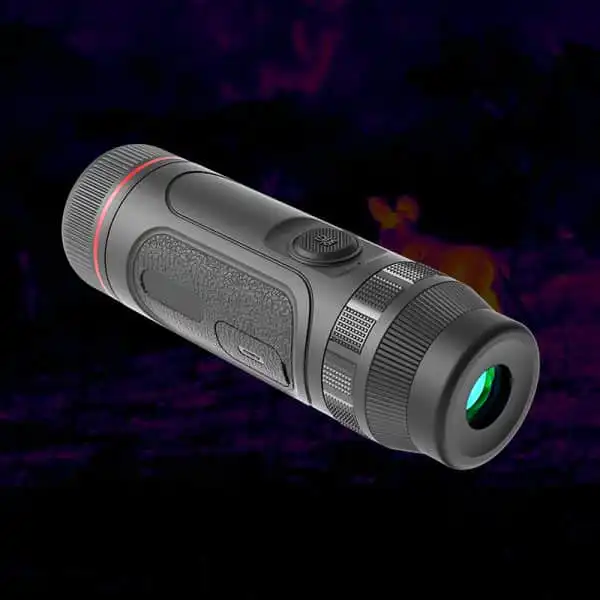
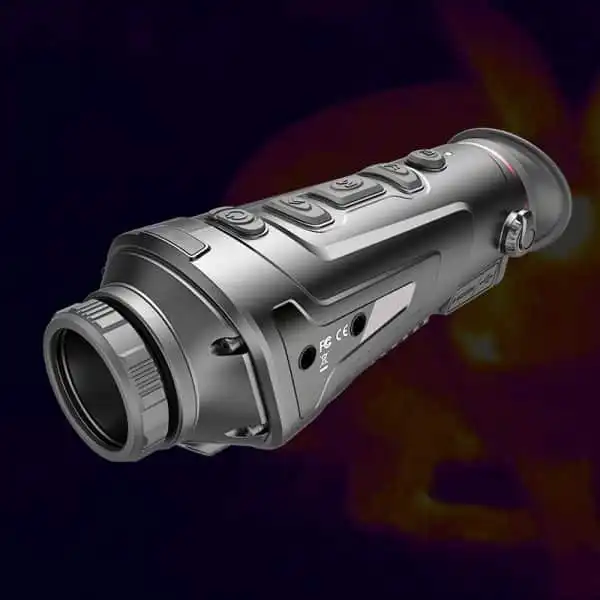
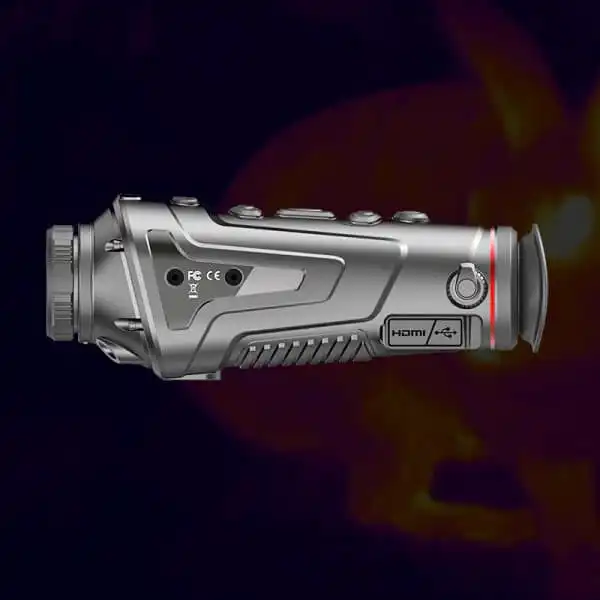
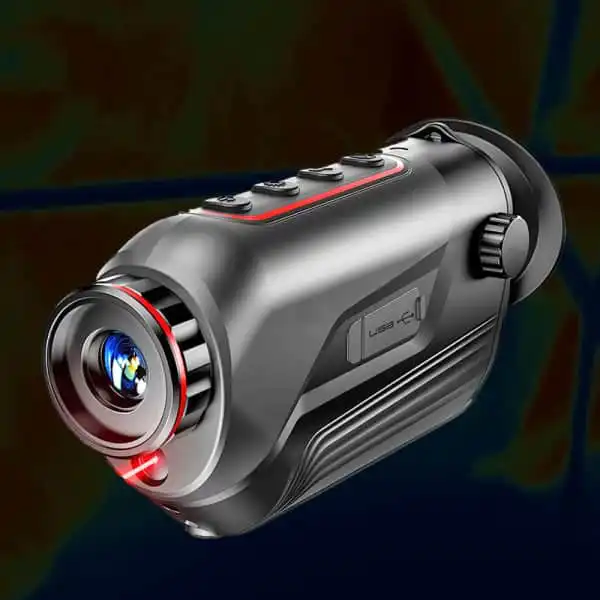
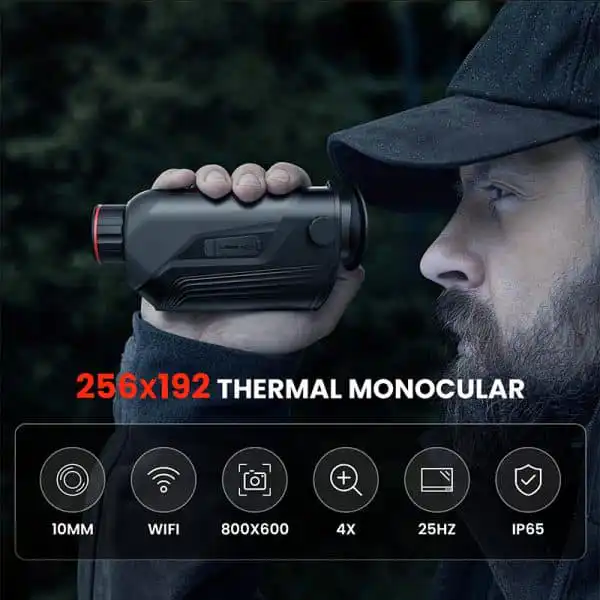
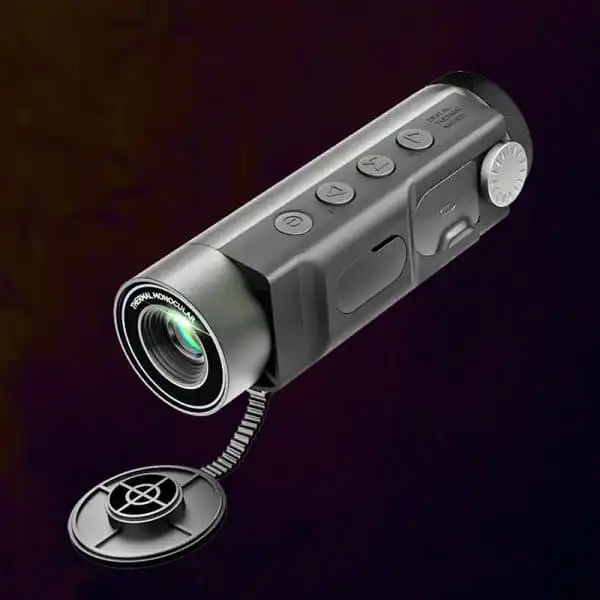
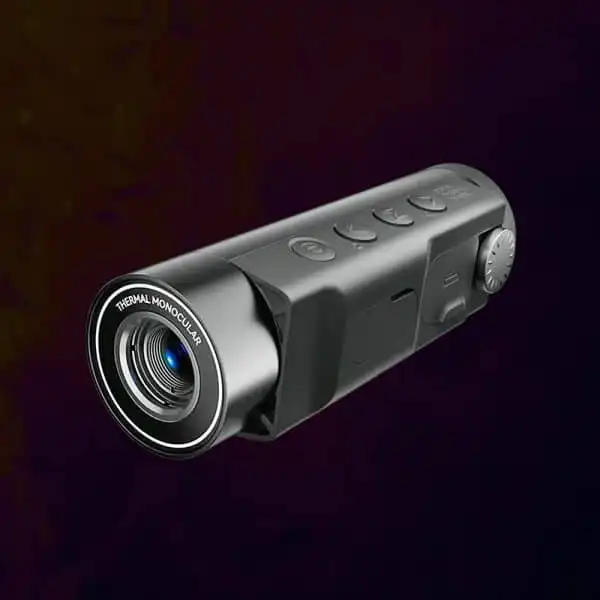
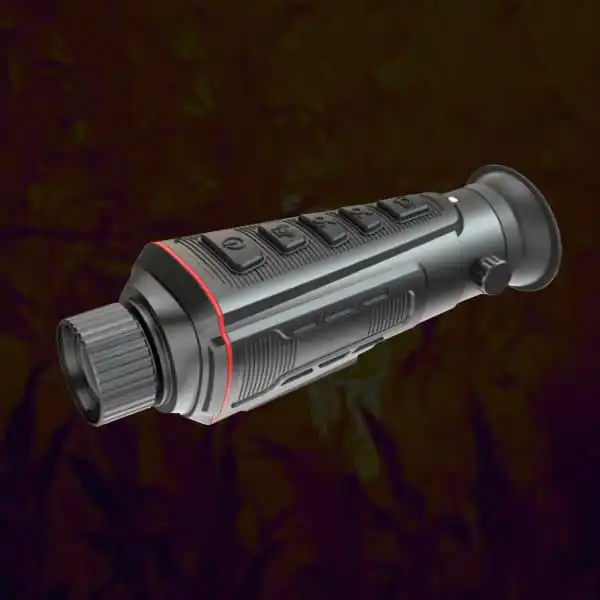
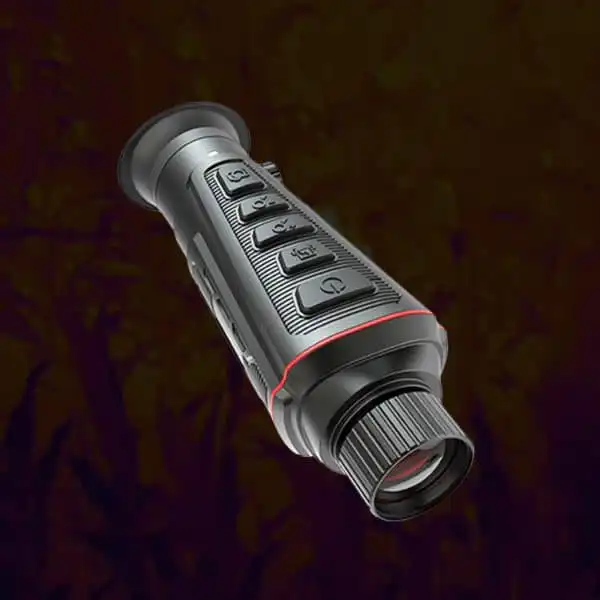
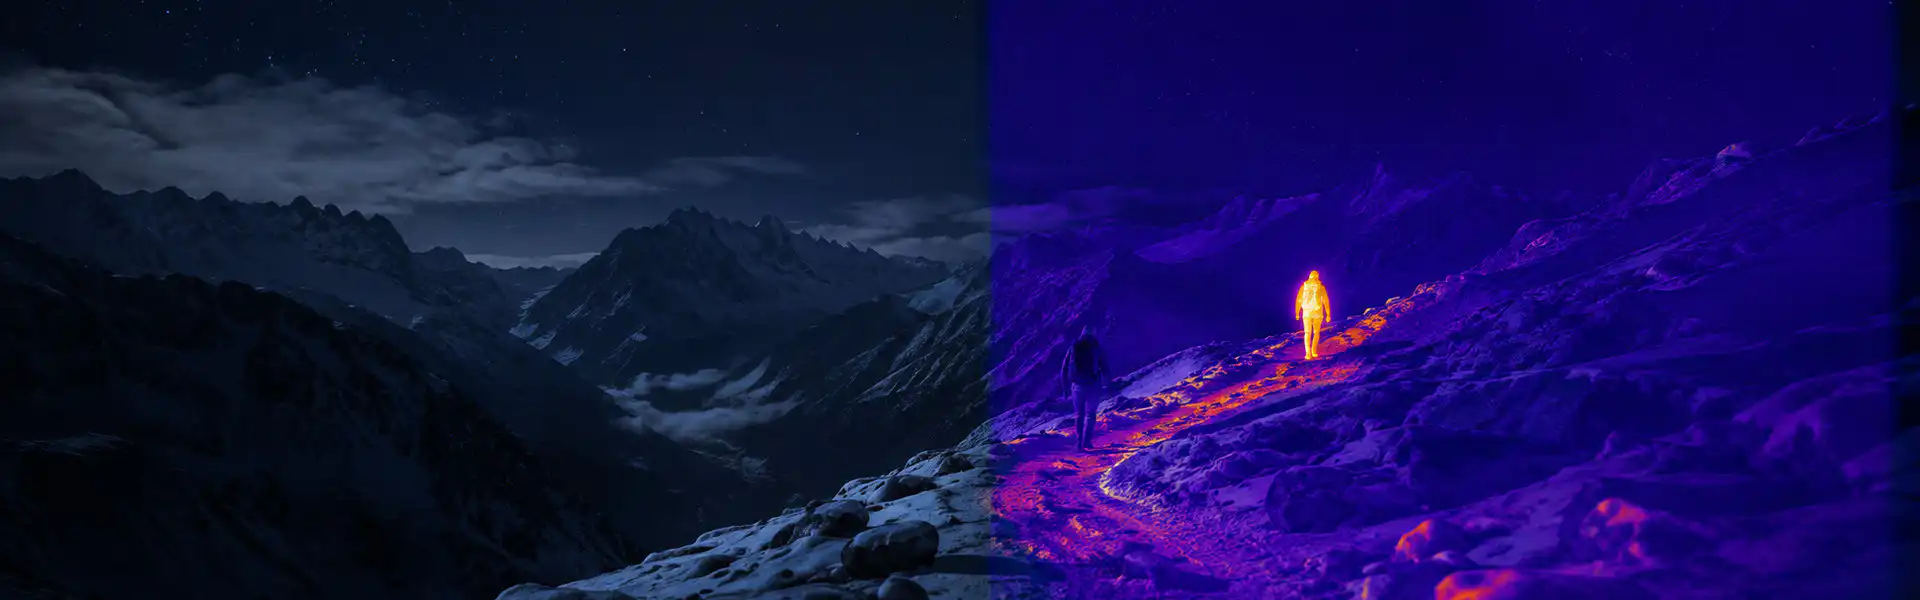
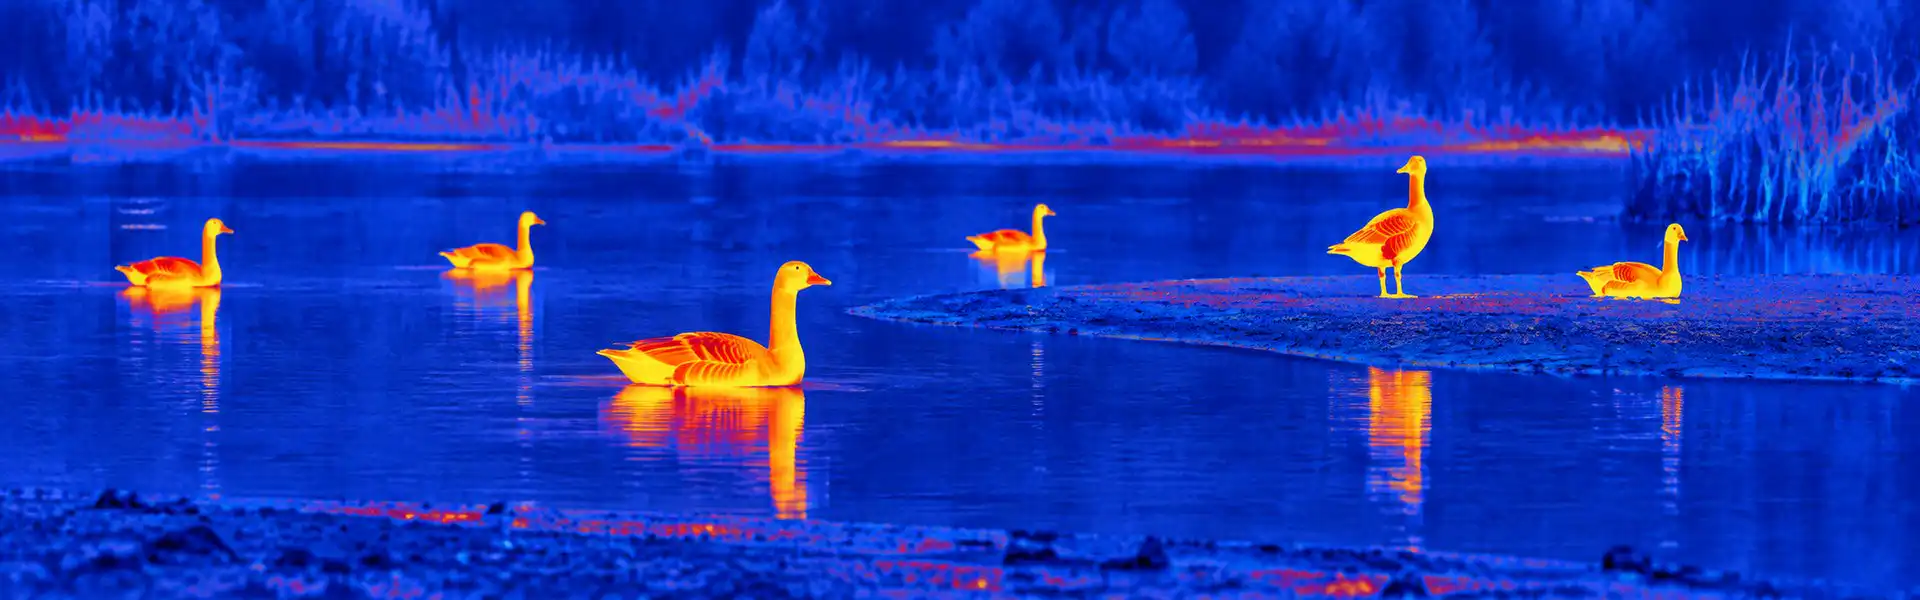
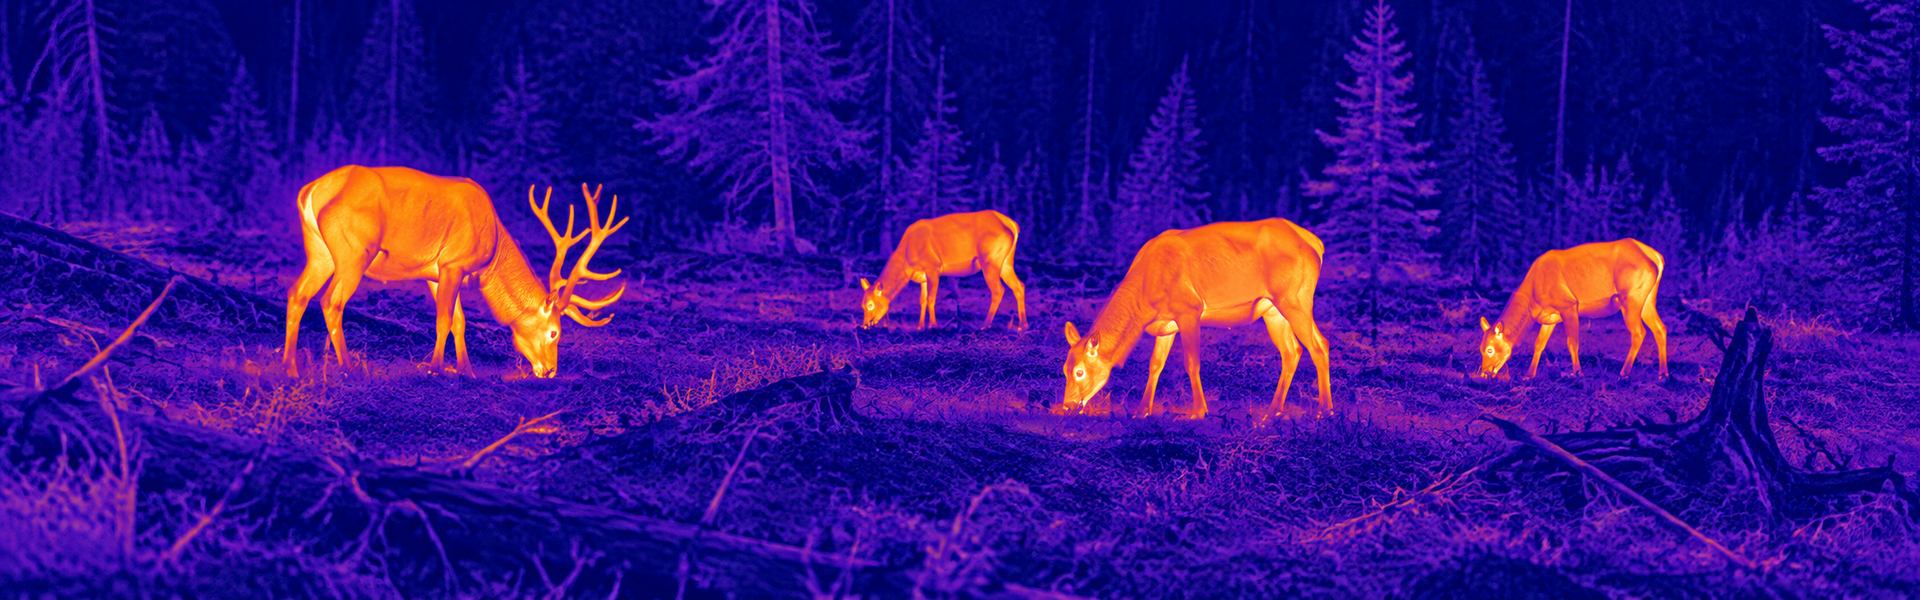
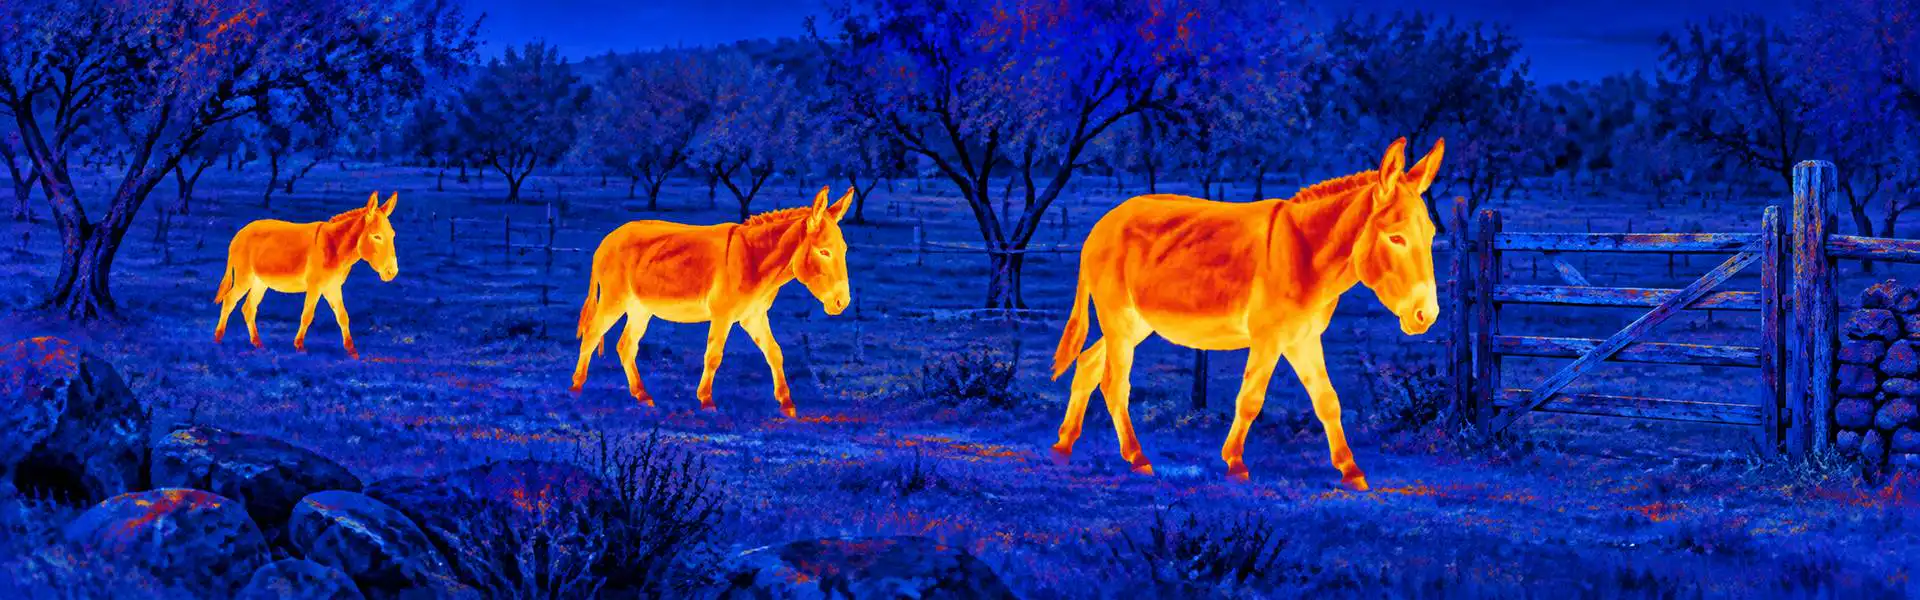
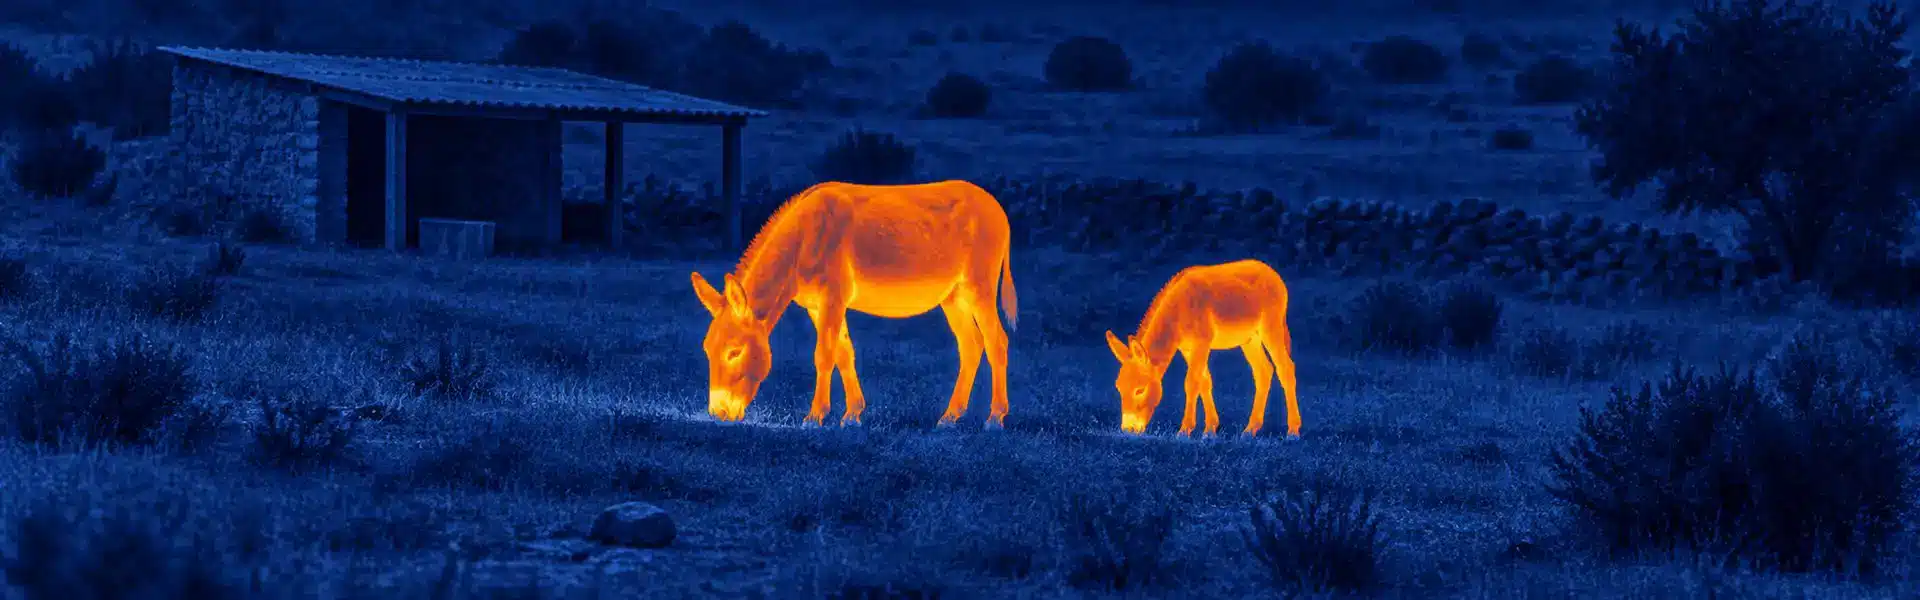
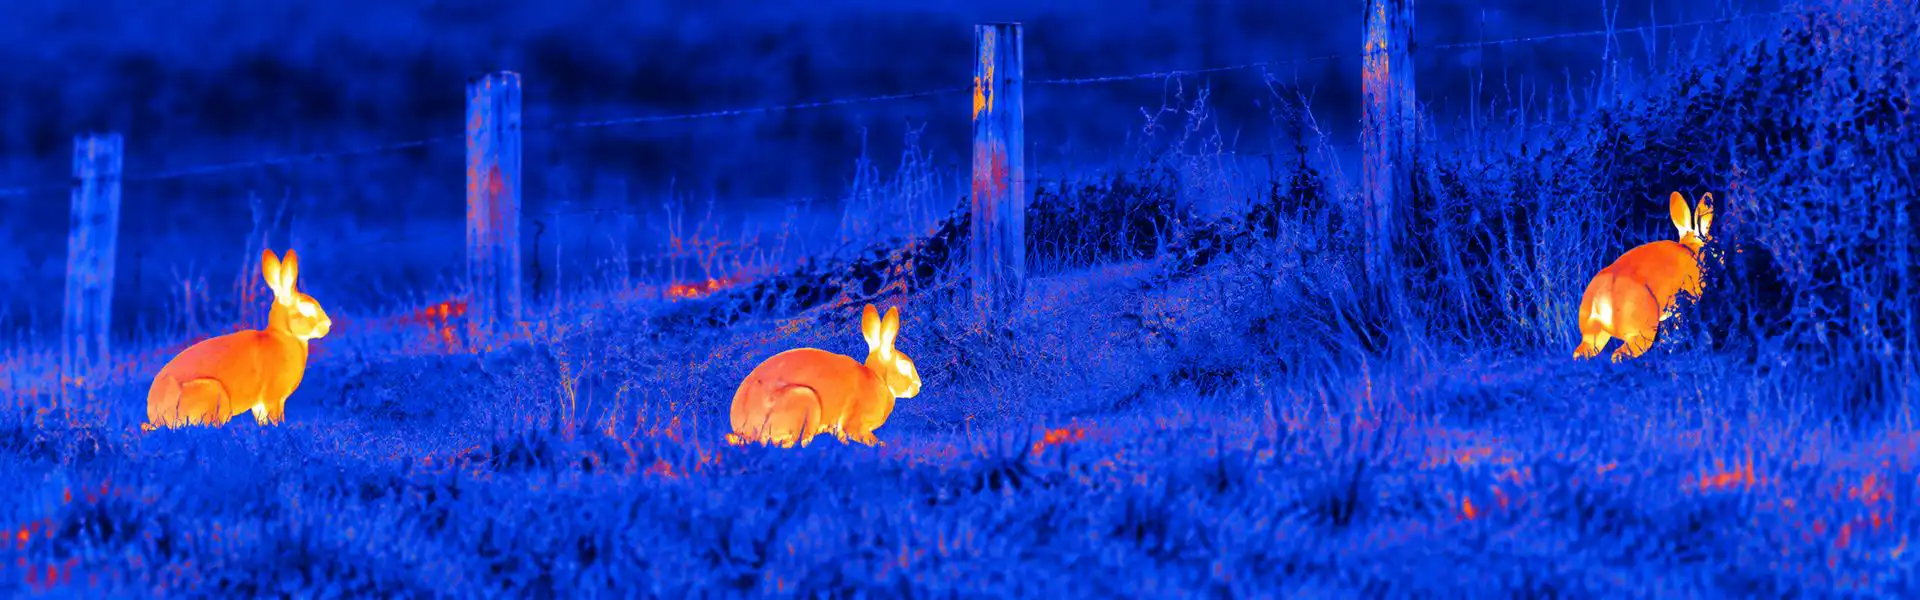
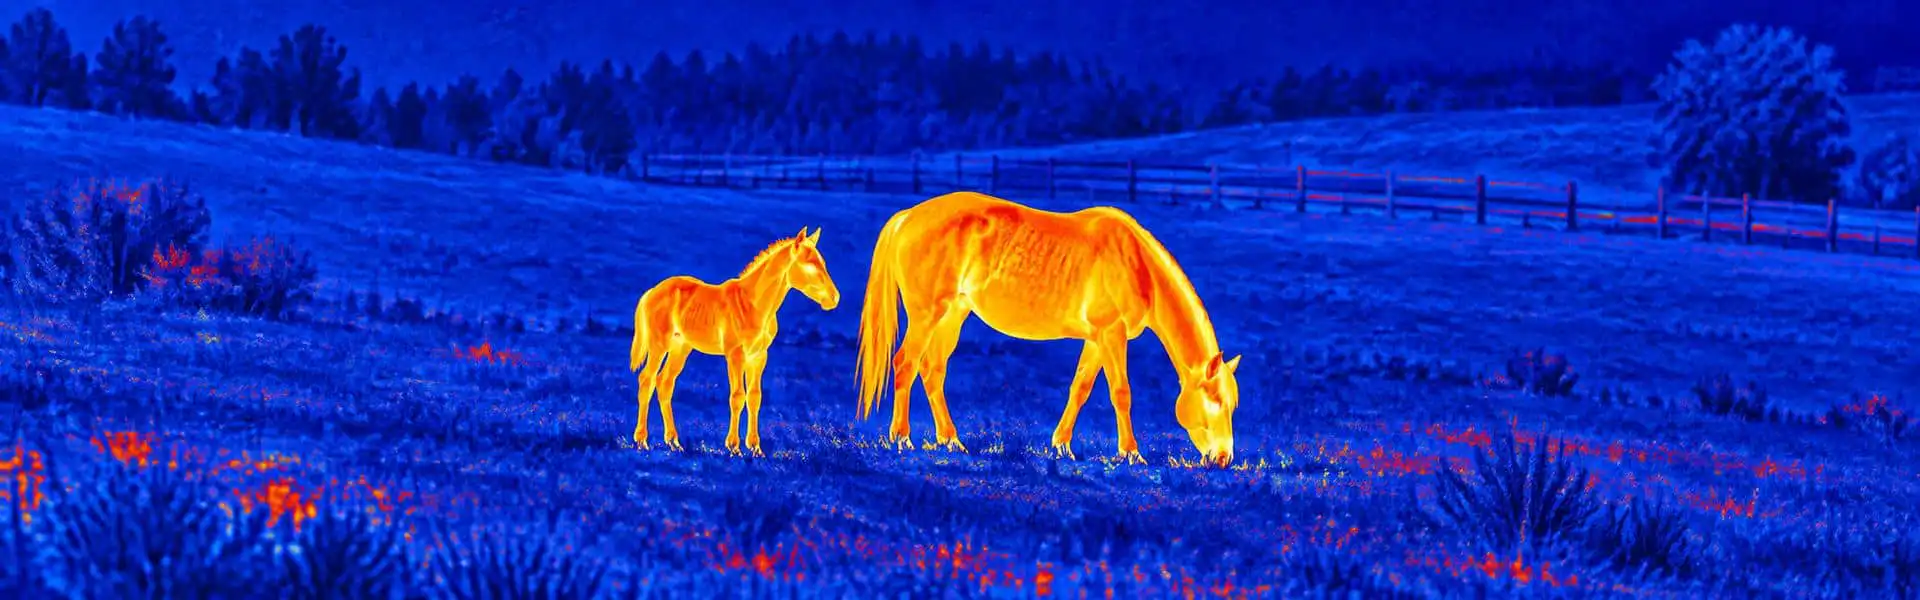
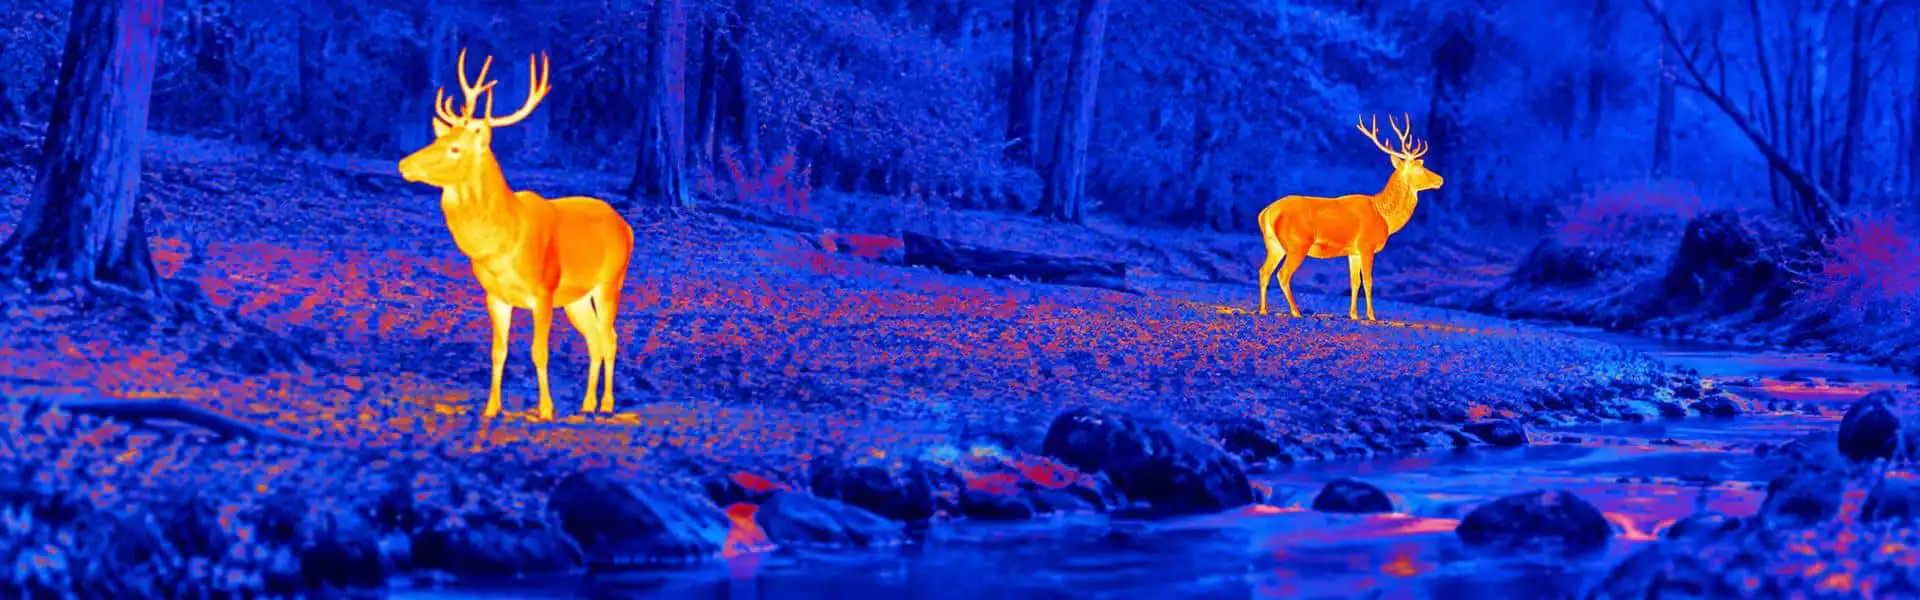
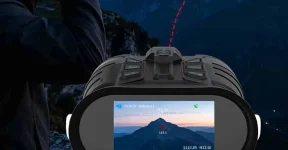
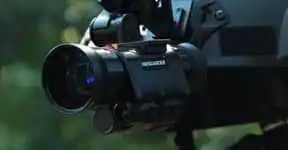
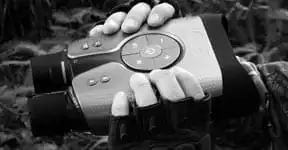
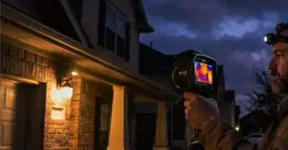
Thermal optic goggles should be introduced through a supported stationary viewing trial, not assumed suitable because they can attach to headgear. For trail-side wildlife observation, compare coverage, eye position, accessible controls and practical power. They do not replace normal vision, protective eyewear or a safe awareness of your surroundings.
Thermal Optic Goggles Begin With a Stationary Task
A volunteer introducing night-time wildlife observation may want both hands free for notes, but a simple handheld scan can also work. Define the fixed observation position and what animal activity is actually exposed. first thermal goggle buying questions should establish the benefit before any accessory selection.
Try a familiar stationary scene before arranging a longer demonstration. thermal viewing response for beginners should be judged directly and gently, without walking tests. This guide does not recommend using a display to navigate a trail. The viewer is an observation aid, and normal sight and legitimate access remain essential.
Know What the Image Can and Cannot Tell You
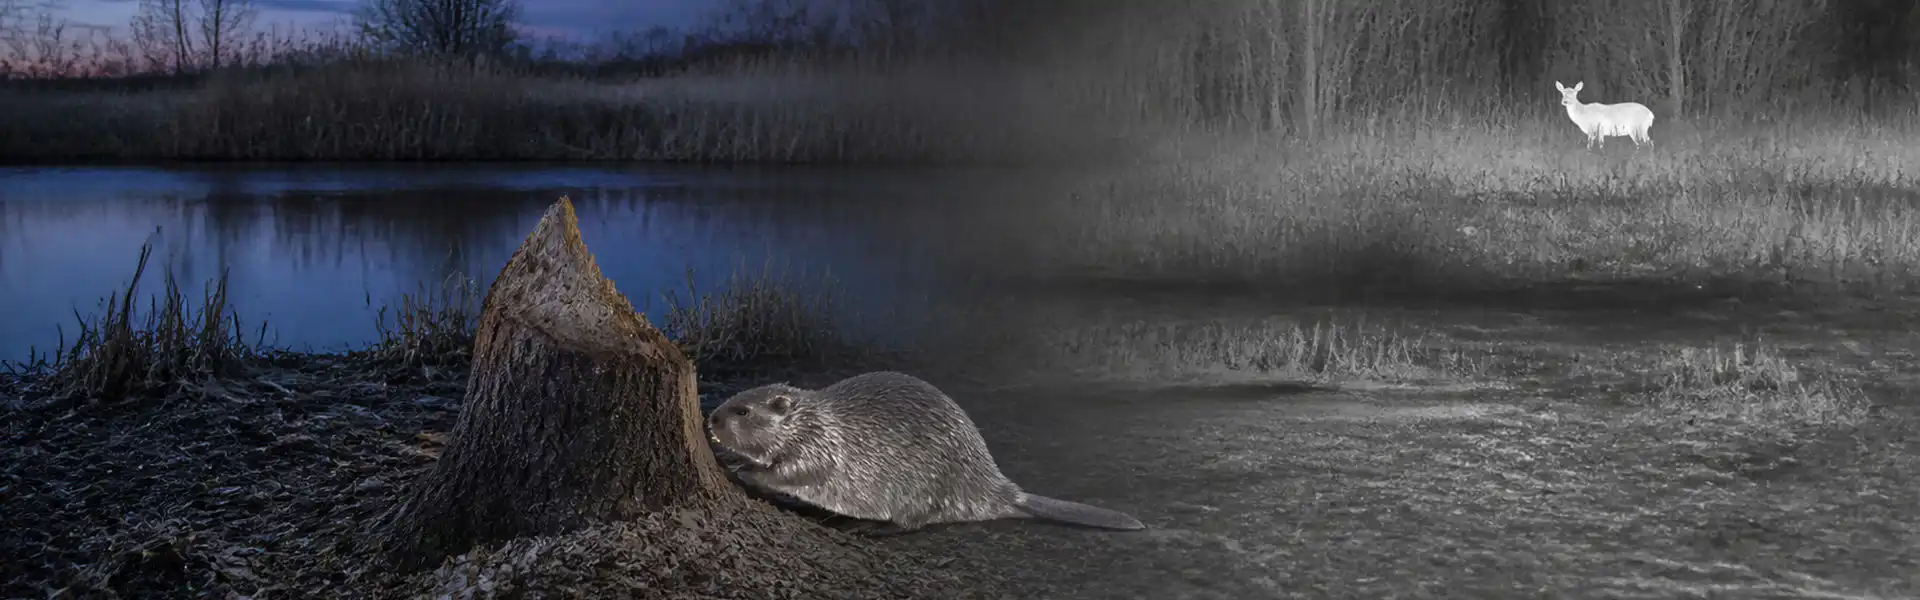
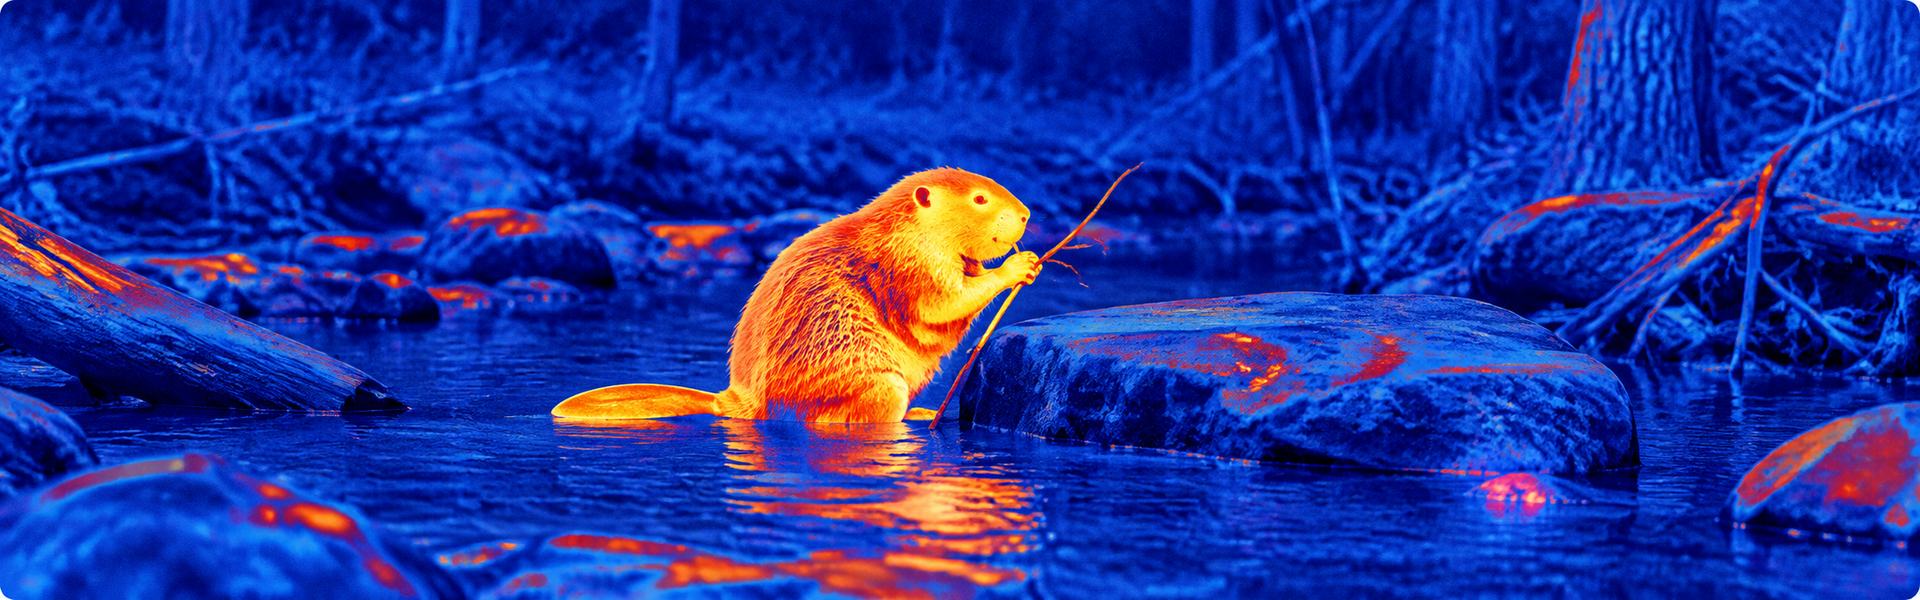
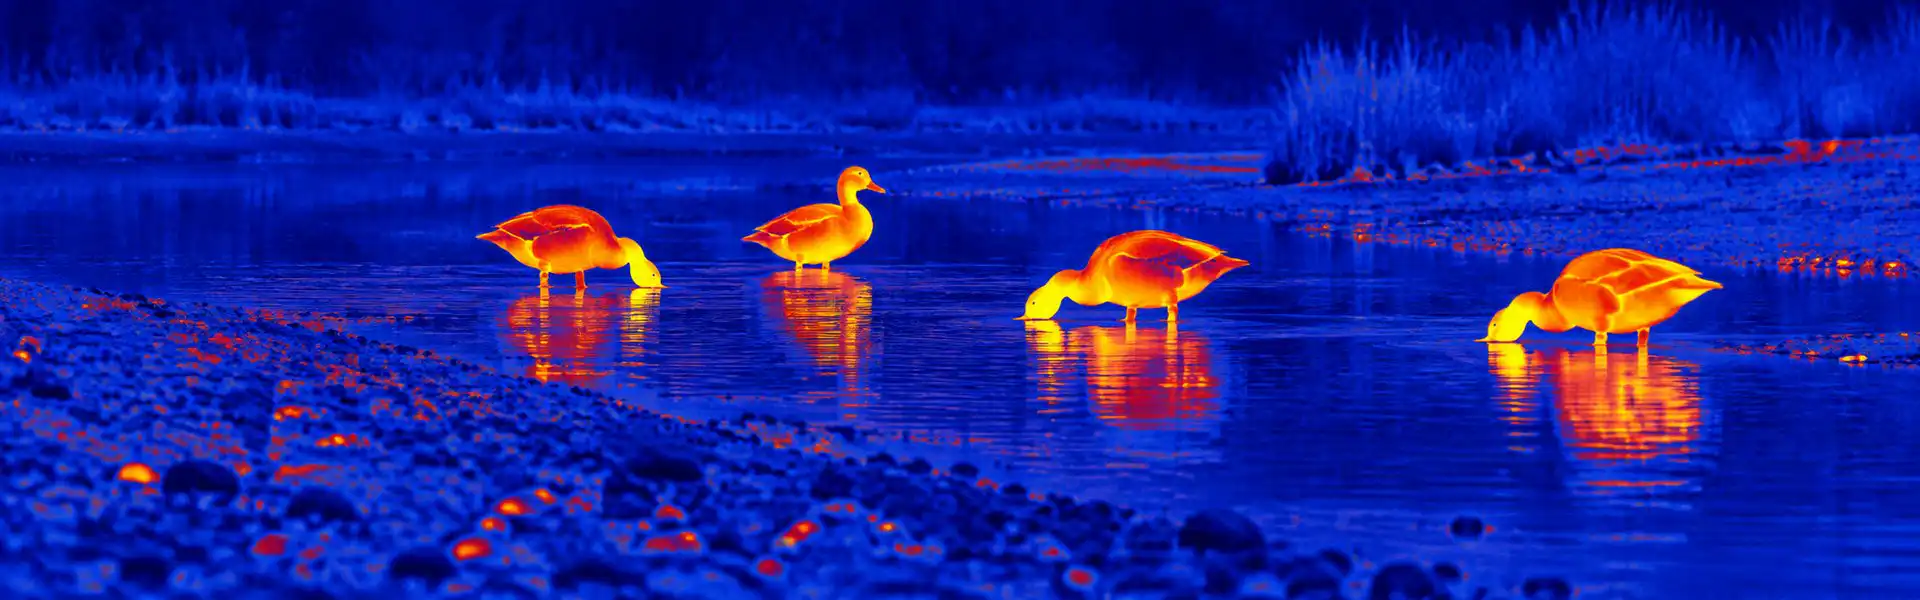
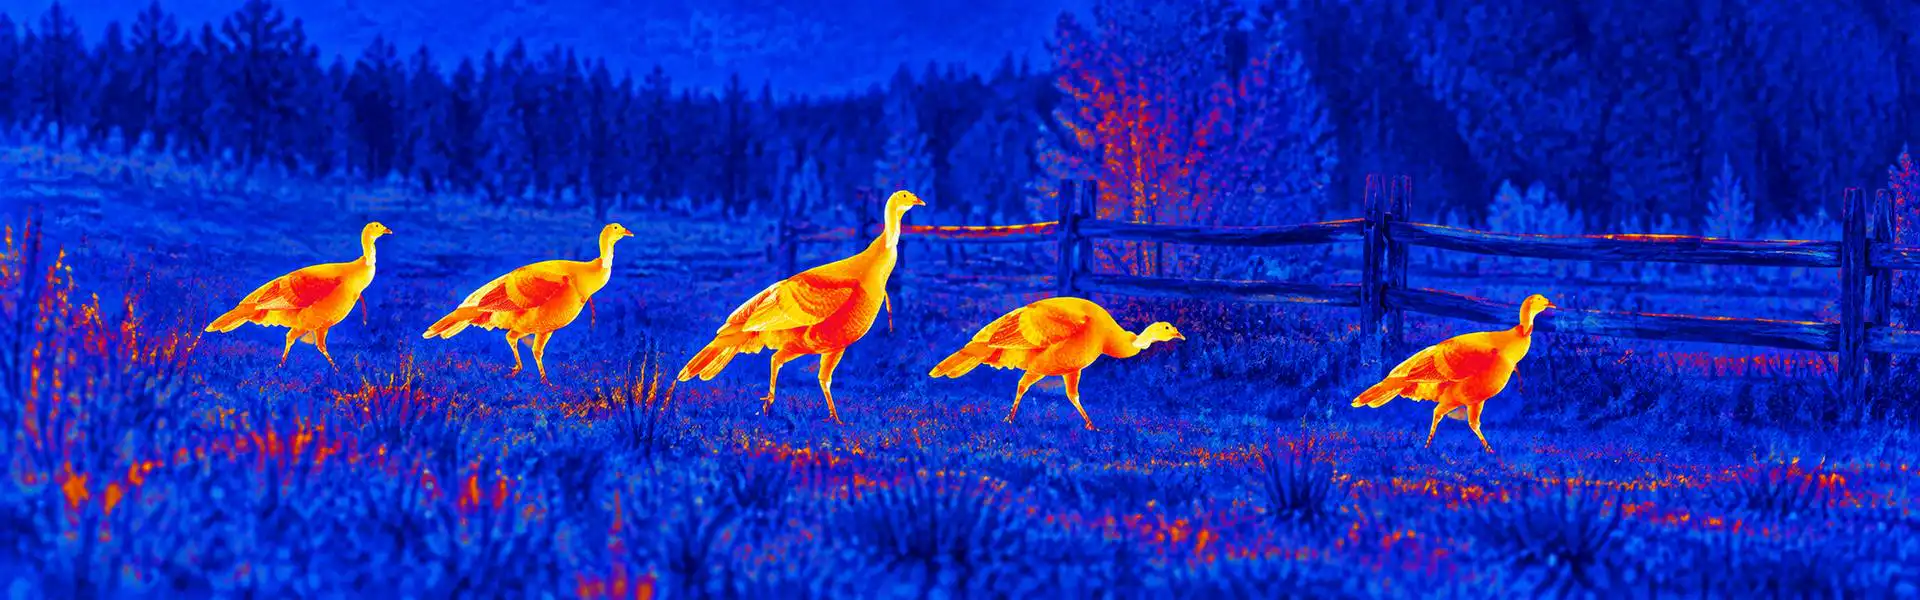
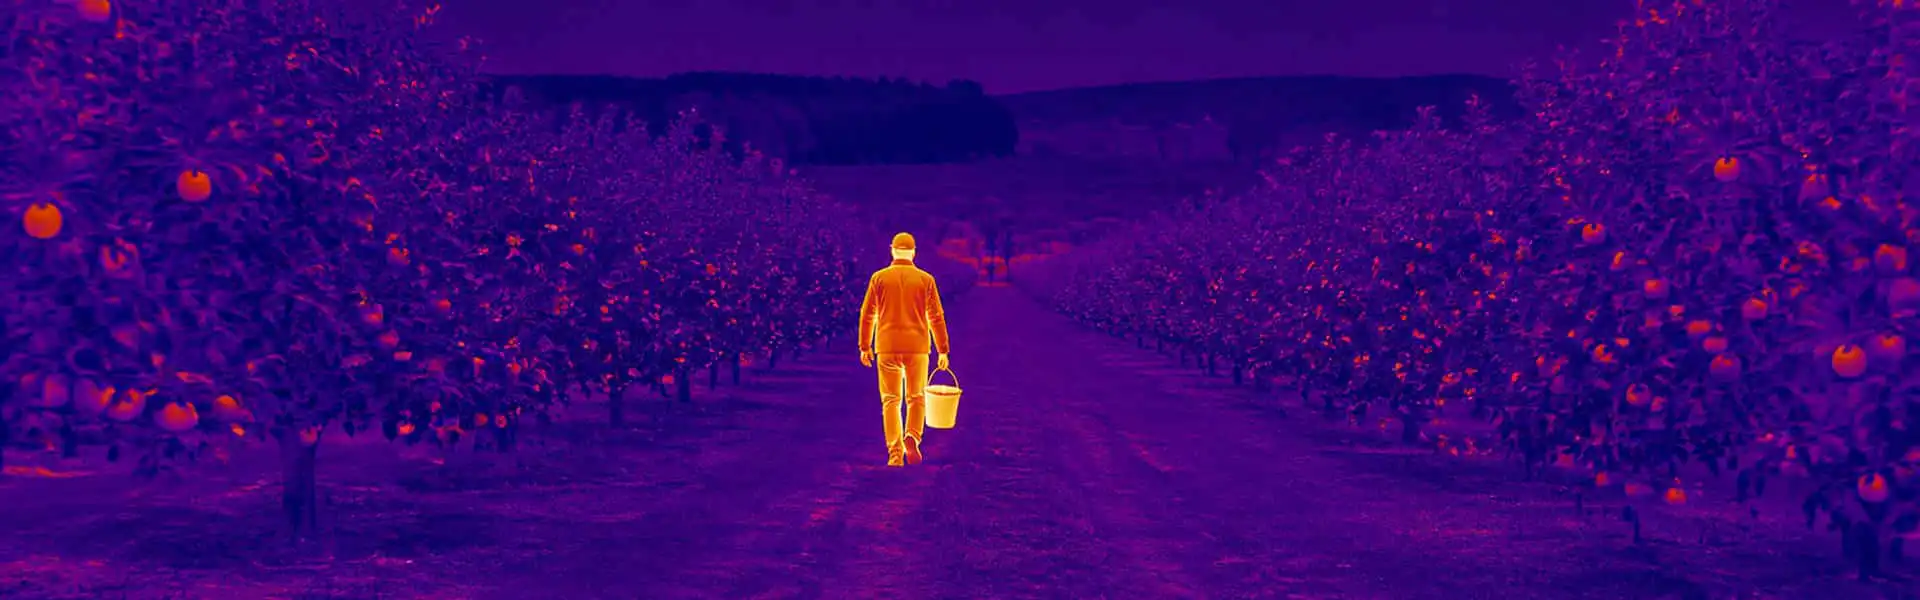
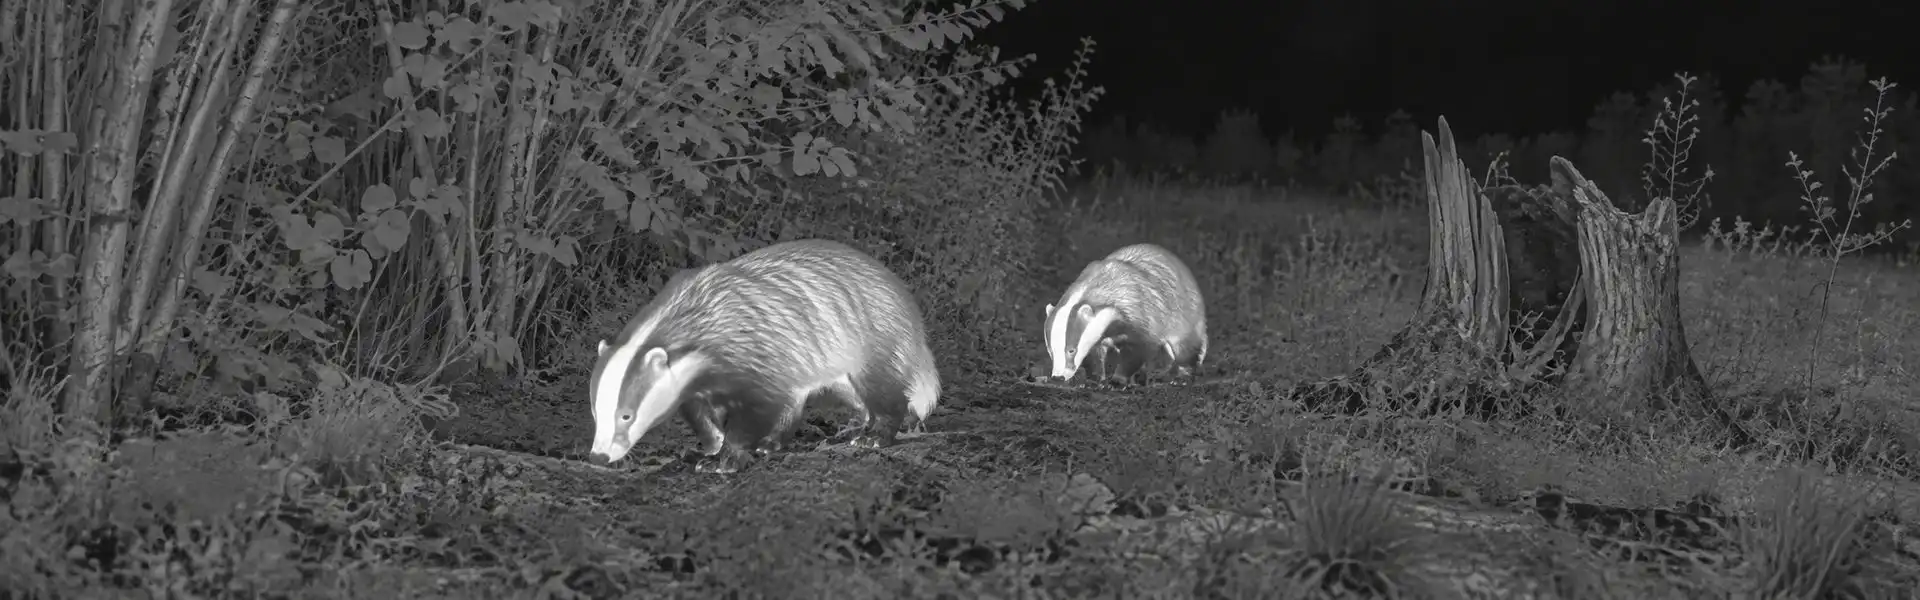
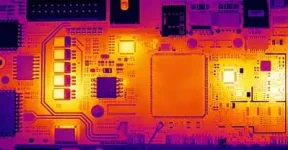
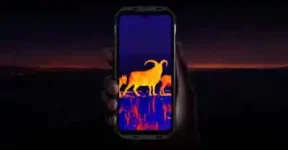
Thermal shows differences in detected infrared radiation, with infrared viewing background as a useful reference. An exposed animal can stand out, but its markings may remain unresolved. Solid cover and dense vegetation restrict the view. A color image is not automatically a calibrated temperature measurement.
Separate native resolution, enhanced output, display pixels and recording dimensions with compact thermal specification checks. Use goggle image-quality questions to compare the exact lens and sensor combination. Processing may change appearance without revealing missing anatomy or proving which species made the heat pattern.
| Question | What to examine | Decision |
|---|
| Learning position | Fixed viewpoint and clear stationary subject | No navigation demonstration |
| Learning controls | Focus and one palette before extra modes | Keep the sequence understandable |
| Learning power | Actual standby and supported batteries | Do not infer runtime from capacity alone |
| Learning limits | Exposed heat pattern versus identity | Use visible evidence when needed |
Fit Comes Before More Features
Secure the support, then adjust height, lateral position and tilt to present the full view comfortably. Check your actual glasses and available eye relief. Mount clearance matters near the battery door and controls. beginner goggle fit considerations should include a normal session, not simply attachment to a rail.
Minimum zoom is not necessarily a natural-looking scale. optical coverage and focal length helps explain the scene geometry, while the eyepiece also affects apparent size. Compare less complicated viewing alternatives when a magnified head-mounted view remains awkward. Persistent discomfort is a reason to stop and reassess the configuration.
A Power Plan Includes the Whole Assembly
Ask which batteries are supported, how charge state is indicated and what standby actually turns off. Display blanking may leave substantial functions active. An extension can improve endurance yet obstruct the upward movement or change balance. Only the approved complete arrangement should be treated as compatible.
Use thermal equipment power and accessory planning to include the cable and carrying pack, not just battery capacity. combined-device support arrangements also requires a verified load and clearance. Test battery access in a dry place before a session, and close a recording normally before deliberately interrupting power.
Prepare a Simple Demonstration Sequence
Introduce one control at a time: focus, palette, optional recording and a supported standby action. Keep the subject exposed and stationary while people learn. Compare a native view before magnification so the audience understands what zoom changes. Avoid turning a long menu tour into an apparent demonstration of animal-identification ability.
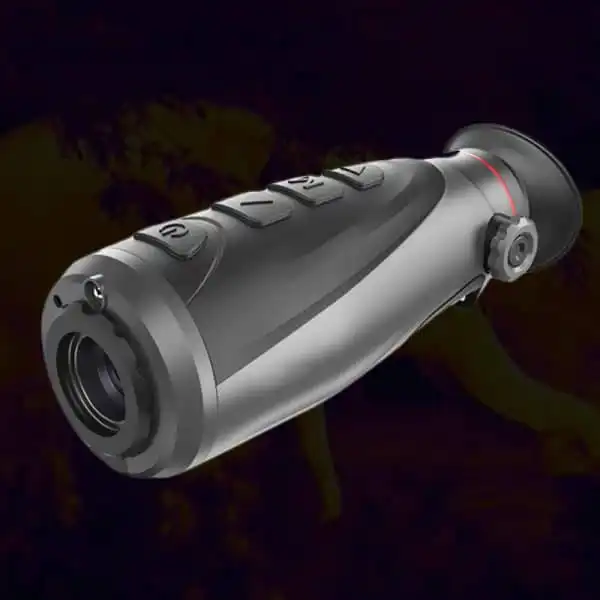
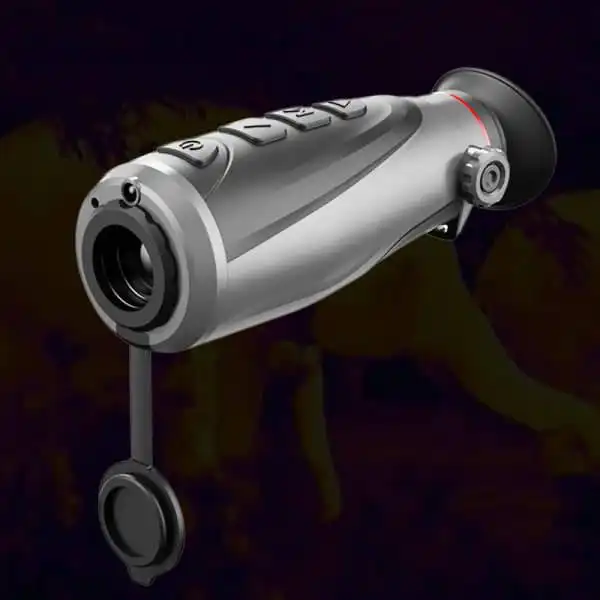
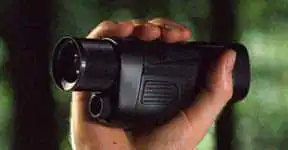
The independent approach in handheld thermal wildlife viewing can simplify teaching. thermal observation with scene context also benefits from visible landmarks. If an external screen is used, confirm the actual signal and delay. A smooth saved clip cannot establish what the audience experienced through the eyepiece.
Confirm the Exact Kit Before the First Outing
List the unit revision, support, mount, eyecup, power and output accessories in writing. Hardware changes across revisions can alter fit or functions. Inspect approved joints for looseness without overtightening, and never test daytime suitability by pointing at the sun. Use the manufacturer’s handling limits rather than improvised exposure tests.
Consider integrated thermal viewing choices only if another channel improves the teaching task. Review thermal optics sourcing options against the demonstrated sequence. A good beginner system is understandable, comfortably fitted and supported, with uncertainty acknowledged instead of hidden by a more impressive specification.
Begin with the supported fitted system and a quiet stationary scene. Establish comfortable viewing and a repeatable power routine before introducing recording or another channel. The most useful first lesson explains both what thermal discovery contributes and where its evidence stops.