



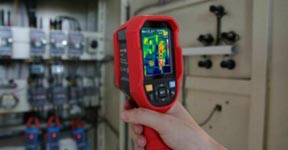
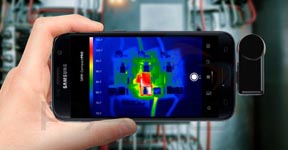
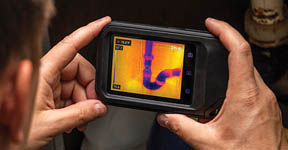
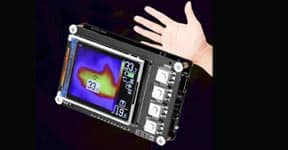






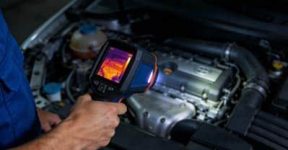
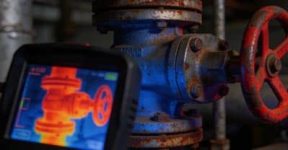
Electrical systems can be unpredictable. Hidden heat, loose terminals, or small resistance changes can quietly build up to become major faults. For professionals and enthusiasts alike, the thermal imager multimeter offers a smarter, faster, and safer way to detect problems before they lead to failure.
If you’re new to thermal inspection tools or want to get the most out of your device, this guide walks you through everything you need to know—from setup to field applications.
1. Understanding the Thermal Imager Multimeter
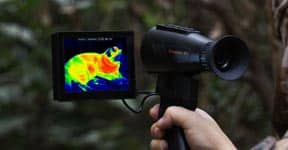
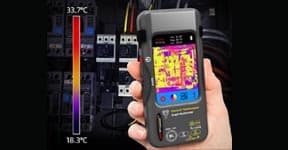
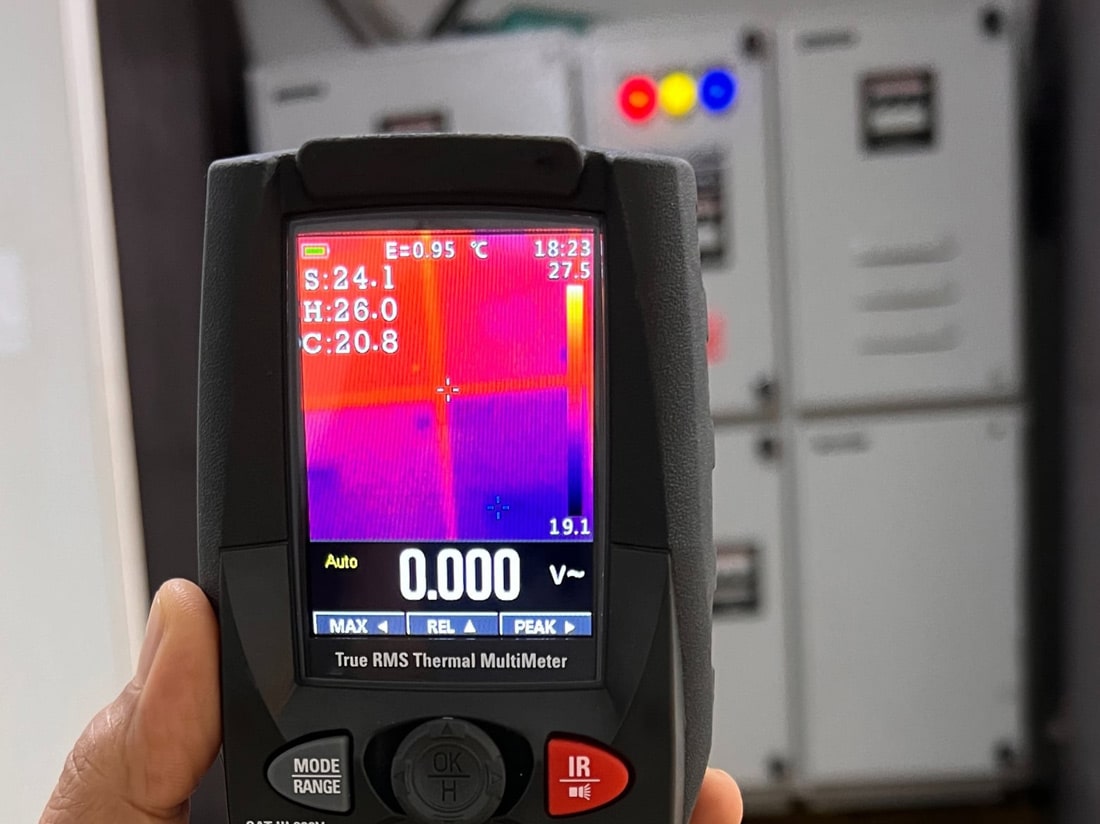
A thermal imager multimeter combines two essential tools: a digital multimeter and an infrared thermal imager.
This means you can measure voltage, current, and resistance while also visualizing temperature variations in real-time.
Instead of switching between two separate devices, you can see exactly where heat builds up and confirm the electrical readings simultaneously. This integration saves time and helps you find root causes faster—ideal for maintenance, troubleshooting, and preventive inspection.
2. Getting Started: Setup and Calibration
Before you start inspecting, make sure your thermal imager multimeter is properly set up:
-
Check battery and calibration: A low battery can affect both thermal sensitivity and measurement accuracy.
-
Set measurement range: Choose auto or manual mode depending on your task (for example, voltage or continuity).
-
Adjust emissivity: Different materials emit heat differently—metal, plastic, and ceramic require proper emissivity settings for accurate readings.
-
Focus the thermal lens: A clear image ensures more precise temperature readings, especially for small components.
Once these are ready, you’re set to begin your inspection with confidence.
3. Step-by-Step: Performing an Electrical Inspection
Here’s how to make the most of your thermal imager multimeter during an inspection:
-
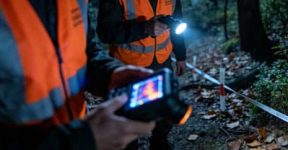
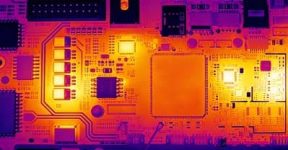
Scan before touching. Start by visually scanning the target area with the thermal display. Look for hot spots, uneven temperature zones, or components that appear significantly warmer than others.
-
Verify with electrical readings. After spotting an anomaly, switch to the multimeter function to measure voltage, resistance, or current directly. This step confirms whether the temperature difference is linked to an electrical issue.
-
Compare and record. Many devices allow you to save thermal images and readings. Keeping these records helps track changes over time and spot recurring issues before they become failures.
4. Common Applications and Scenarios
A thermal imager multimeter isn’t limited to one industry—it’s useful in many settings:
-
Panel inspection: Identify overloaded circuits or loose connections.
-
HVAC systems: Detect faulty compressors, overheating fan motors, or imbalanced components.
-
Industrial machinery: Find friction points, motor issues, or heat buildup in bearings.
-
Renewable energy: Check inverter connections or identify imbalances in solar panels.
-
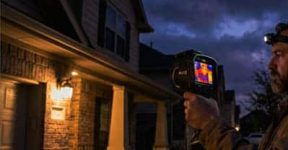
Home inspection: Locate faulty outlets, wiring issues, or energy loss around appliances.
Wherever there’s electricity, heat tells a story—and this tool helps you read it instantly.
5. Tips for Accurate and Safe Use
To make sure your measurements are reliable and safe:
-
Avoid reflective surfaces: Shiny metals can distort infrared readings. Use matte tape or adjust emissivity to compensate.
-
Keep distance consistent: The closer you are, the more accurate your temperature readings will be.
-
Don’t rely on temperature alone: Always confirm findings with electrical data.
-
Inspect regularly: Preventive checks with your thermal imager multimeter can save both time and repair costs.
-
Stay safe: Always follow electrical safety procedures and keep hands clear of live components whenever possible.

6. Maximizing the Value of Your Tool
The thermal imager multimeter isn’t just for professionals—it’s also a perfect learning tool for technicians, engineers, or anyone curious about diagnostics.
By merging thermal and electrical insights, it gives you a complete picture of what’s happening inside your systems—whether you’re maintaining factory equipment, testing circuits in a workshop, or diagnosing household wiring.
With time, you’ll notice that inspections become faster, reports more accurate, and problems easier to prevent.
7. Final Thoughts: Smarter Inspections Start Here
Electrical systems often “speak” through heat before failure ever occurs. The thermal imager multimeter gives you the eyes and data to listen and respond early.
It transforms ordinary testing into a visual, data-driven process—helping you find faults faster, improve safety, and extend the life of your equipment.
Compact, efficient, and remarkably intelligent, this tool is not just a convenience—it’s a modern necessity for anyone serious about precision and reliability in electrical inspection