



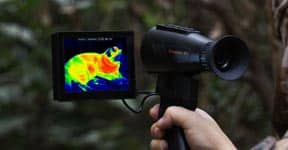
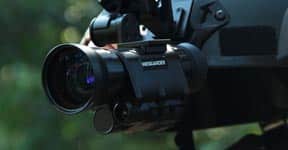
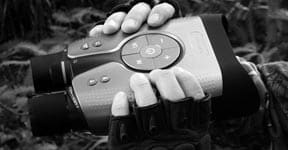
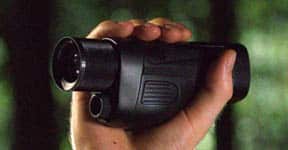
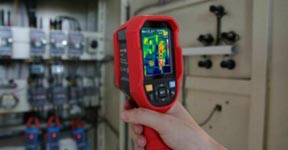
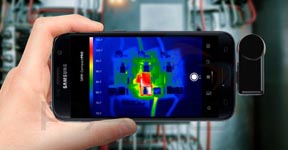
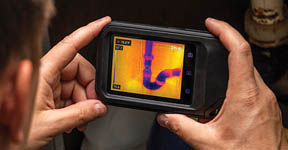
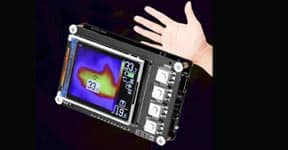


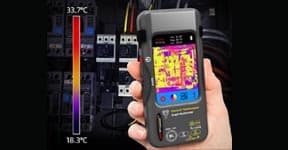


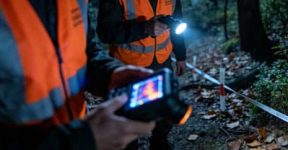

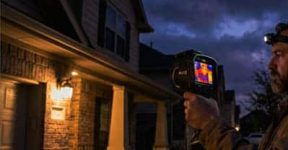
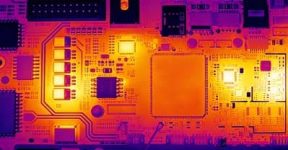
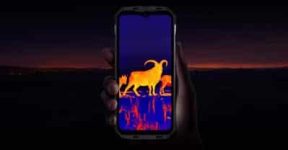
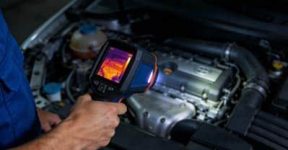
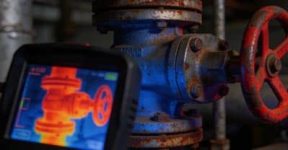
Thermal imaging has become one of the most practical technologies for inspection, diagnostics, and exploration. Whether you’re checking for heat leaks in a building, monitoring electrical systems, or observing wildlife at night, a handheld thermal imager can reveal what the human eye simply can’t see.
But before you make a purchase, it’s important to understand that not all thermal imagers are created equal. Each model comes with unique strengths designed for different users and environments. Here’s a clear and practical guide to help you choose wisely.
1. Understand What You’ll Use It For
Before diving into specs and features, define your purpose.
-
For home or DIY use, you’ll need a lightweight and easy-to-operate model. It doesn’t need extreme precision—just enough resolution to detect insulation issues, water leaks, or overheating appliances.
-
For professional inspection or maintenance, accuracy becomes essential. Electricians, HVAC technicians, and engineers benefit from higher sensitivity and a broader temperature range.
-
For outdoor or wildlife observation, portability, battery life, and rugged build matter most. You’ll want something that performs reliably even in cold, damp, or dusty conditions.
Once you’re clear on your purpose, the right specifications will naturally stand out.
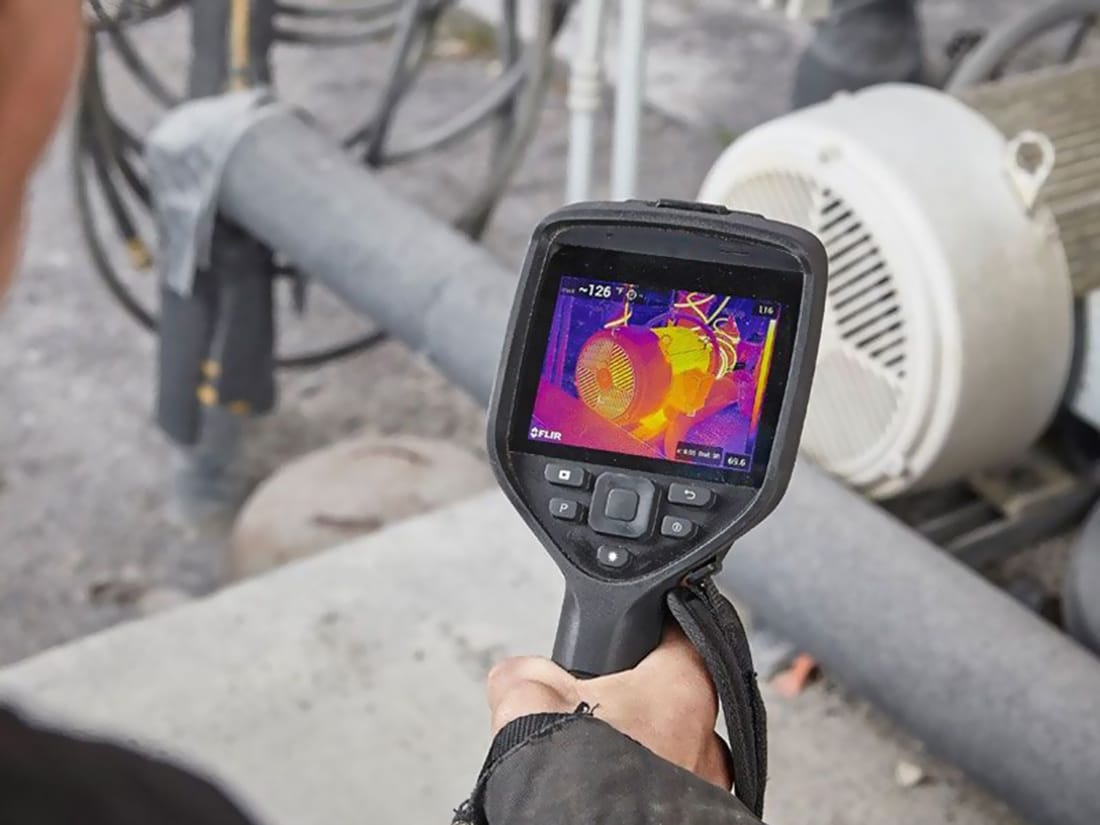
2. Image Resolution – The Heart of Clarity
Think of resolution as the “sharpness” of thermal vision. A higher pixel count gives more detailed temperature readings.
-
Entry-level devices: 120×90 pixels—good for casual inspection.
-
Mid-range devices: 320×240 pixels—ideal for professionals needing accurate data.
-
High-end imagers: 640×480 pixels or higher—excellent for complex industrial analysis.
The rule of thumb? If you’re analyzing small components or distant targets, go for higher resolution.
3. Temperature Range – Know Your Limits
Different imagers detect different temperature spans.
-
For building and household checks, a range of –20°C to 150°C works fine.
-
For electrical or mechanical diagnostics, choose a device that can measure up to 650°C or more.
-
For specialized industrial work, some models extend beyond 1000°C.
Selecting the right range ensures your readings are accurate, not distorted by temperature extremes.
4. Thermal Sensitivity – Detect the Subtle Differences
Thermal sensitivity (often labeled as NETD) measures how well the imager distinguishes between tiny temperature variations. The lower the value, the better the sensitivity.
-
<50mK: Suitable for general inspections.
-
<40mK or less: Ideal for precision work, like microelectronics or research applications.
High sensitivity helps reveal early warning signs that might otherwise go unnoticed.
5. Ergonomic Design and Ease of Operation
Handheld imagers should be comfortable to hold and intuitive to operate. Look for:
-
A non-slip grip that stays secure during fieldwork.
-
Responsive buttons or touchscreen control.
-
A clear display visible in daylight or dark environments.
Some models include features like adjustable focus or one-handed operation, which can make a big difference during long work sessions.
6. Display Options and Color Palettes
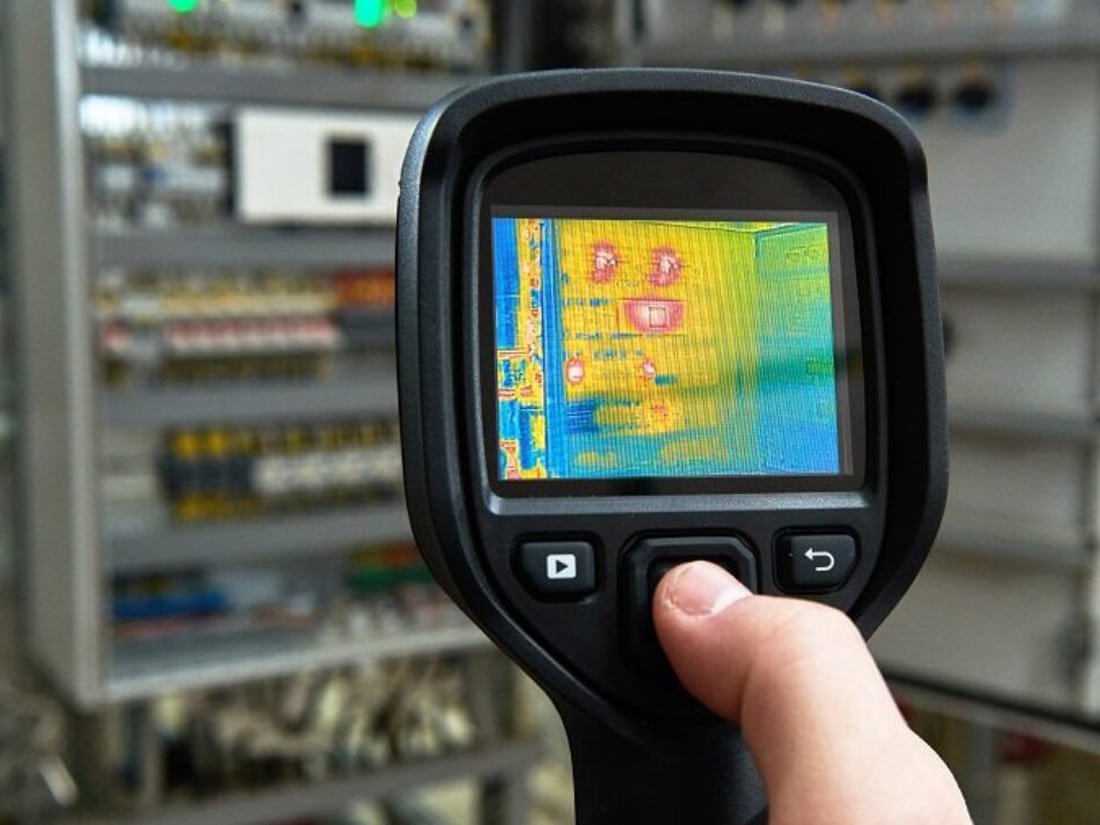
A variety of color palettes—such as Iron, Rainbow, Arctic, or Gray—can help highlight temperature changes more clearly. Different palettes suit different scenarios.
-
Iron and Rainbow: great for quick detection.
-
Gray: best for detailed analysis.
If possible, choose an imager that lets you switch palettes easily, so you can adapt to different conditions.
7. Data Management and Connectivity
Modern handheld imagers often feature Wi-Fi, USB-C, or Bluetooth connections for easy data transfer. Some allow you to save images directly to an SD card or connect to a mobile app for real-time analysis.
If you often create reports or share findings, connectivity and storage flexibility will save you a lot of time.
8. Durability and Protection Rating
Since many inspections happen outdoors or on industrial sites, your imager needs to handle tough environments.
Check for:
-
IP54 or higher waterproof/dustproof rating.
-
Drop resistance to survive accidental falls.
-
Temperature tolerance for both cold and hot surroundings.
A sturdy imager ensures you don’t lose performance when conditions get rough.
9. Battery Life – Don’t Let Power Hold You Back
Battery capacity varies widely. For outdoor or field use, go for long-lasting or replaceable batteries. Some models can run continuously for 6–10 hours, while others support quick charging or external power banks. Always plan for your longest possible session.
10. Extra Features That Make Work Easier
Small details can greatly improve usability:
-
Laser pointers to target specific areas.
-
Dual cameras for combining visible and thermal views.
-
Voice or text notes to label findings.
-
Tripod mounts for steady, hands-free observation.
These added conveniences might not seem crucial at first, but they can make long-term use more efficient and professional.
Conclusion
A handheld thermal imager is more than just a gadget—it’s an investment in accuracy, safety, and insight. The right one helps you diagnose problems faster, prevent costly failures, and see beyond what’s visible.
By focusing on your primary use, comparing key specifications, and choosing reliable build quality, you’ll find a device that truly fits your needs. In the end, the best thermal imager isn’t the most expensive one—it’s the one that lets you work smarter, not harder