



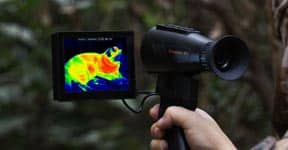


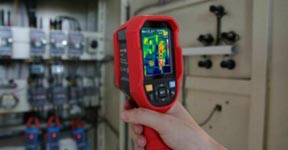
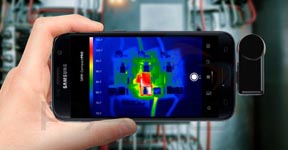
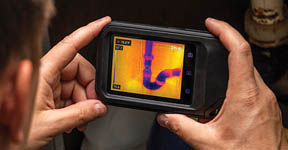


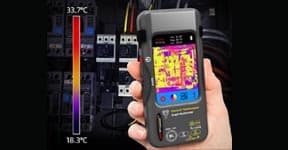





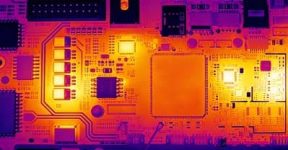

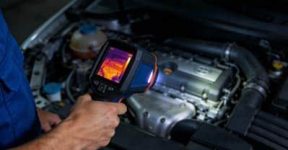
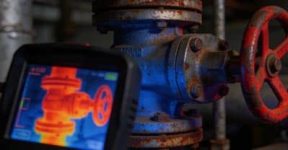
If you’ve ever spent hours chasing down overheating components, unstable circuits, or thermal drift issues, you know that a good thermal imaging analyzer can save you time, stress, and a lot of guesswork.
These devices let you see heat — not just measure it — revealing subtle thermal patterns that ordinary tools can’t detect.
But here’s the challenge: not all analyzers are created equal.
From resolution and sensitivity to software and ergonomics, every detail affects how well your analyzer performs in real-world use.
So, before you invest in one, let’s break down what really matters when choosing the right desktop thermal imaging analyzer for your workbench.
1. Start with What You’ll Use It For
Different applications demand different performance levels.
If you’re inspecting PCBs, small electronic modules, or sensors, you’ll want an analyzer with fine detail and high sensitivity.
For laboratory testing, component R&D, or thermal profiling, accuracy and repeatability come first.
Think of it like picking a microscope — clarity and stability mean everything when you’re working at a detailed scale.
Knowing your main purpose helps you avoid overspending on specs you’ll never need or missing out on ones you actually do.
2. Image Resolution — Clarity Defines Capability
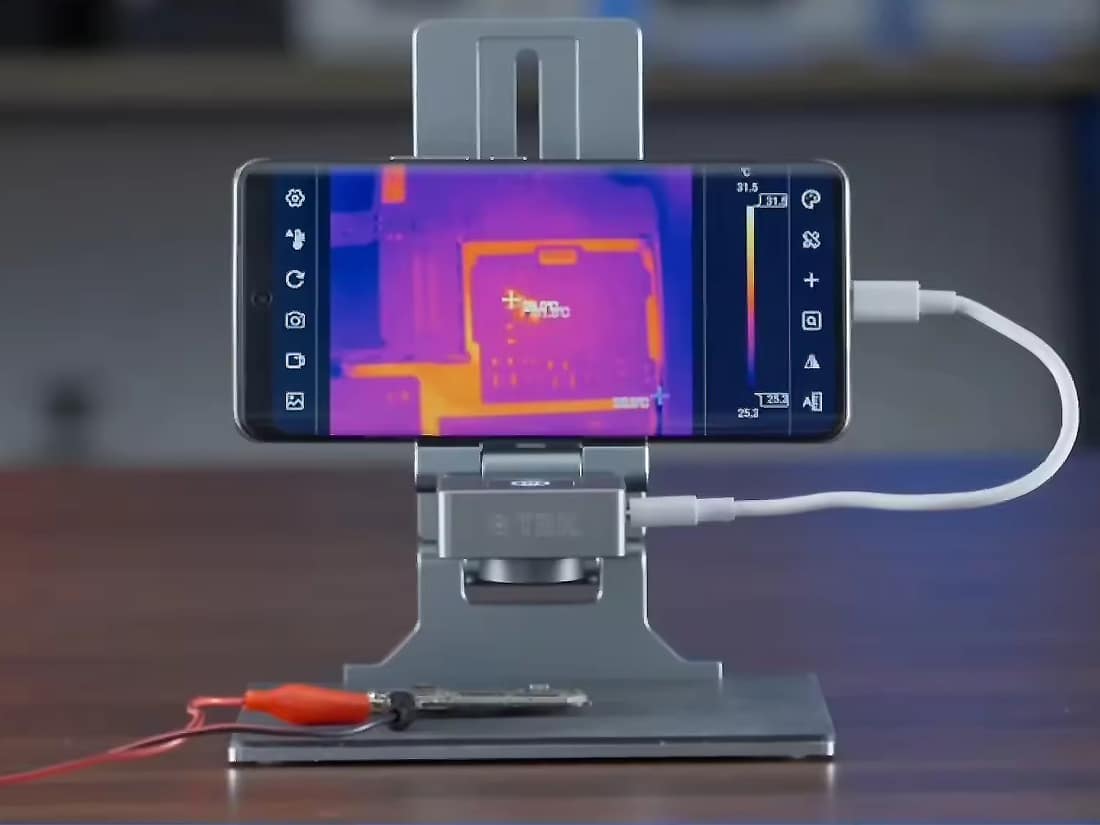
Resolution is the first thing most people look at, and for good reason.
The higher the resolution, the sharper and more detailed your thermal image will be.
A basic analyzer may have a 160×120 sensor, which is enough for general inspection.
But if you’re dealing with fine electronic circuits or components smaller than a fingertip, you’ll want 320×240 or even 640×480 pixels.
That extra clarity helps you spot hot spots precisely — whether it’s a resistor running too hot or a voltage regulator dissipating unevenly.
In short, higher resolution = fewer missed details.
3. Thermal Sensitivity (NETD) — Detect the Smallest Changes
When you’re testing precision electronics, sometimes the smallest temperature difference tells the biggest story.
That’s why thermal sensitivity, often shown as NETD (Noise Equivalent Temperature Difference), matters so much.
Look for a value below 50mK, ideally ≤40mK, if you need to detect subtle temperature gradients.
It means your analyzer can pick up even the slightest heat variations — perfect for tracing current leaks, identifying thermal imbalance, or confirming component performance consistency.
4. Temperature Range and Accuracy
Not all analyzers can handle extreme conditions.
If you’re testing high-power electronics or industrial modules, make sure the analyzer covers your target range.
A typical desktop thermal analyzer might measure from -20°C to 550°C, which is sufficient for most applications.
However, more important than range is accuracy.
A small deviation can lead to wrong conclusions in lab testing.
Always check for ±2°C or ±2% accuracy (whichever is higher) for professional results.
5. Frame Rate — Don’t Miss the Moment
Thermal behavior isn’t static — heat moves.
If your analyzer captures images too slowly, you might miss fast-changing events, like surge heating or transient power fluctuations.
For PCB testing or motion heat mapping, look for 30Hz to 60Hz frame rates.
This ensures smooth thermal video capture, so you can watch heat patterns evolve in real time instead of guessing after the fact.
6. Lens and Field of View — Match the Work Scale
A wide field of view (FOV) lets you monitor larger areas, such as full circuit boards or enclosures.
Meanwhile, a narrow lens helps zoom in on tiny components for detailed inspection.
Some desktop thermal analyzers offer adjustable or interchangeable lenses, giving you flexibility between close-up precision and broader overviews.
If your work involves both PCB-level and component-level analysis, that versatility is worth every penny.
7. Display and User Interface
Since you’ll likely use it for hours, display quality and interface comfort matter a lot.
Choose an analyzer with a high-resolution display (at least 5 inches) that shows fine thermal contrast clearly.
Touchscreen operation is convenient, but physical buttons can be more reliable in long-term lab environments.
Also, make sure the interface offers easy temperature scaling, color palette adjustments, and region-based measurement tools — those small details can dramatically improve workflow efficiency.
8. Software and Data Analysis Tools
A powerful analyzer isn’t complete without good software.
Look for software that allows you to:
-
View real-time thermal video on your PC
-
Analyze temperature trends and curves
-
Export images and data in standard formats
-
Generate thermal reports automatically
Good software should make analysis faster, not more complicated.
Some even allow synchronized comparison — for example, viewing before-and-after temperature profiles of a PCB repair.
9. Build Quality and Stability
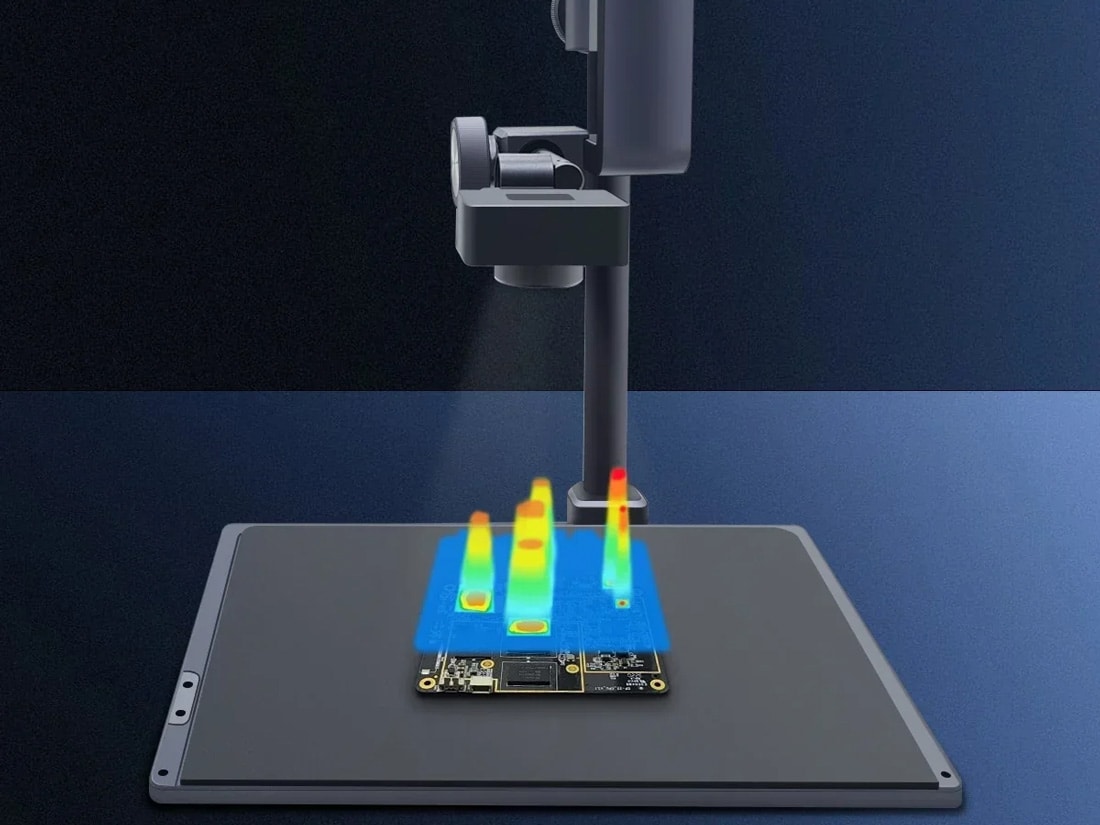
Unlike handheld models, desktop analyzers are meant for steady, continuous operation.
Make sure the device has a solid base, stable mount, and vibration-resistant structure.
This prevents measurement drift and ensures consistent accuracy over time.
If you often work long hours or handle delicate samples, a quiet cooling system and ergonomic layout are also key factors for comfort and precision.
10. Calibration and Maintenance
Precision tools need maintenance.
Check if the analyzer supports auto-calibration or manual calibration options.
Reliable calibration ensures long-term measurement consistency and helps maintain trust in your test results.
Also, verify that replacement parts (like calibration plates or sensors) are available — this can greatly extend the lifespan of your analyzer.
11. Budget and Long-Term Value
Thermal imaging analyzers vary widely in price, depending on resolution, accuracy, and features.
But don’t just chase the cheapest option — consider the total value: build quality, software support, and upgrade potential.
A slightly higher upfront cost may save you from expensive downtime or inaccurate data later.
In professional testing, reliability is worth more than short-term savings.
Final Thoughts
Choosing the right thermal imaging analyzer is not just about specs — it’s about matching your workflow, precision needs, and inspection habits.
Whether you’re testing prototype boards, validating thermal performance, or performing detailed diagnostics, the right analyzer helps you see problems clearly and solve them faster.
Take time to compare resolution, sensitivity, and usability before making your decision.
After all, a well-chosen analyzer isn’t just a tool — it’s your silent lab assistant, revealing invisible stories of heat, energy, and performance.