


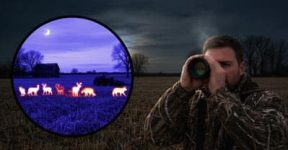
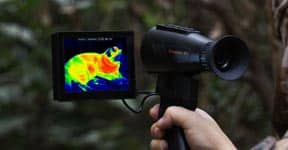
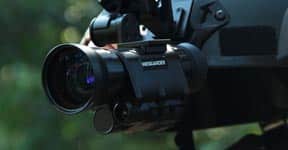
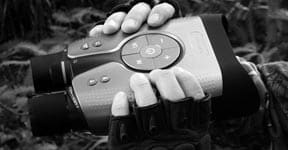
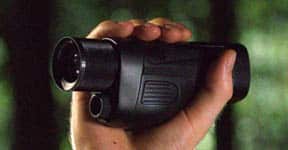
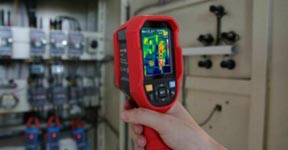
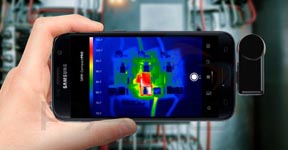
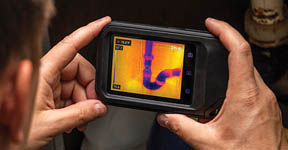
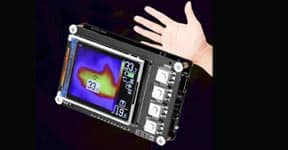


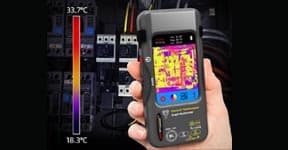


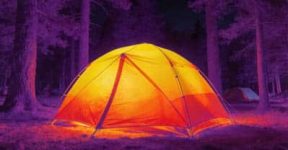
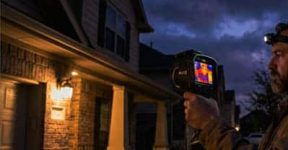
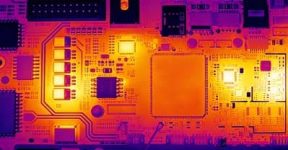
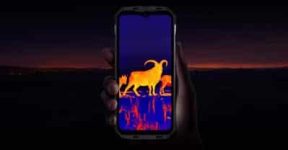
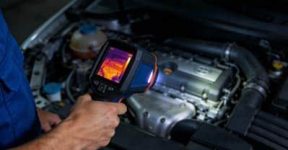

If you’ve ever picked up a handheld thermal imager, you know how incredible it feels to suddenly see heat. Walls, pipes, wires, animals — everything emits infrared energy, and these little devices turn that invisible radiation into a vivid, colorful map. But like any advanced tool, thermal imagers require a bit of know-how to use correctly. Misread a heat pattern or ignore key settings, and what you see might not actually tell the whole story. So before you start scanning your house, workshop, or the great outdoors, here are some important things to keep in mind.
1. Understand What a Thermal Imager Really Shows
A common mistake among first-time users is assuming a thermal imager shows “temperature” directly. In reality, it detects infrared radiation, which correlates with temperature but is also influenced by other factors — like surface texture, color, and reflectivity.
For example, a shiny metal pipe might appear cooler than a wooden board beside it, even if they’re both the same temperature. That’s because metal reflects surrounding heat, while wood absorbs and emits it. So always remember: a thermal image shows how heat is radiating, not just how hot something truly is.
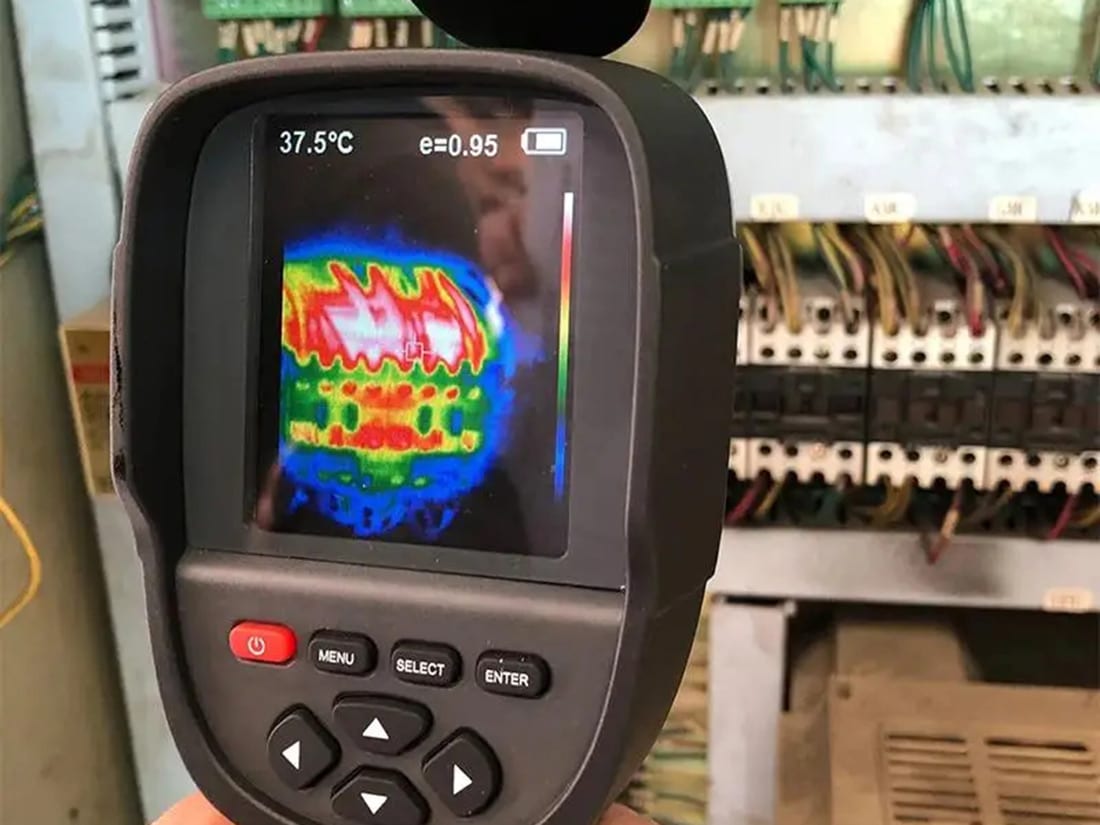
2. Mind the Emissivity — It Matters More Than You Think
“Emissivity” sounds technical, but it’s simply how efficiently a material emits infrared energy. Different surfaces — like plastic, glass, metal, or paint — have different emissivity values.
-
Matte or rough surfaces emit heat well and show accurate readings.
-
Shiny or reflective ones can distort the results.
If your device allows you to adjust emissivity, use that setting! Setting the right value can mean the difference between a precise temperature reading and a completely misleading one.
3. Avoid Misinterpretation from Reflections
One of the easiest traps to fall into is thermal reflection. Infrared light can bounce off glossy materials — like metal pipes, tiles, or polished stone — creating “false hot spots” that aren’t really heat sources.
A simple tip: change your viewing angle. If the hot area moves when you move, it’s probably just a reflection. This small habit helps avoid confusion and gives you much more accurate results.
4. Let Your Device Adjust Before Scanning
Thermal imagers are sensitive instruments. When you take them from a cool indoor space to a hot outdoor environment (or the other way around), they need time to stabilize. The internal sensor must adapt to ambient conditions to maintain accuracy.
Give your device a few minutes to adjust before starting any serious scanning. It’s like letting your eyes get used to the dark — only this time, it’s your camera adapting to the heat.
5. Choose the Right Color Palette for the Job
Most handheld thermal imagers come with several color palettes — rainbow, iron, white-hot, black-hot, and more. Each has its purpose:
-
Rainbow or Ironbow: Great for visual contrast during inspections.
-
White-hot: Good for general use and natural outdoor views.
-
Black-hot: Often used for identifying living beings or warm objects in cool backgrounds.
Experiment with these modes to find what fits your environment. The right palette can reveal subtle temperature differences that others might miss.
6. Keep the Lens Clean and Protected
Infrared imaging relies on precision optics. Even a thin film of dust, moisture, or fingerprints on the lens can distort the readings. Always carry a soft lens cloth and keep the device covered when not in use.
Avoid cleaning with rough materials or alcohol-based wipes — they can scratch the special coatings that protect the lens. Treat it like you would a professional camera lens: gentle care equals clear results.
7. Don’t Forget About Distance and Focus
Thermal imagers have a specific focus range. Too close, and your readings can blur or lose detail. Too far, and the small hot spots might disappear into background noise.
When checking electrical components, for instance, stand at a safe but effective distance to ensure accurate heat patterns. Many handheld models let you fine-tune the focus — use it! A crisp image is the foundation of a reliable interpretation.
8. Understand Environmental Influence
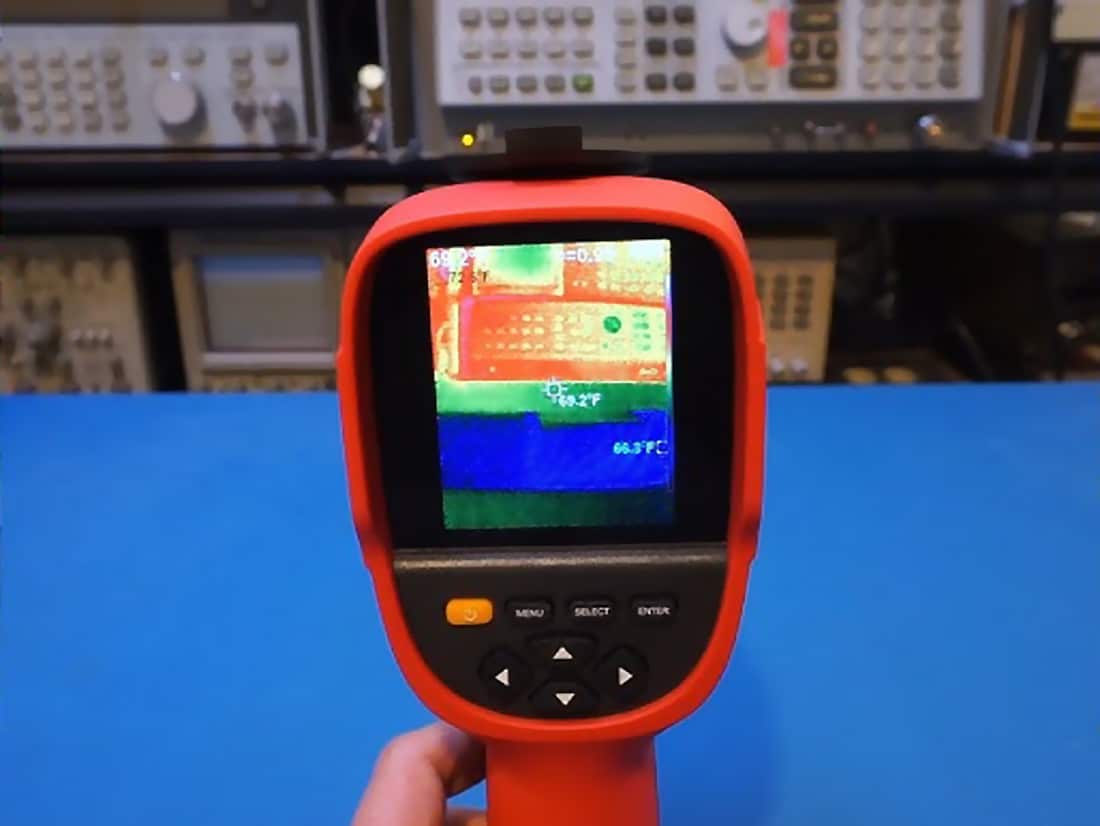
Outside conditions can easily affect what your thermal imager sees. Wind cools surfaces, sunlight heats them, and moisture can change their appearance altogether. If you’re using the imager outdoors:
-
Avoid scanning in direct sunlight — it can create false heat readings.
-
Try to take measurements early morning or evening when temperatures are stable.
-
Be cautious of rain or fog, which may scatter infrared energy.
The clearer the environment, the more precise your thermal results will be.
9. Use It Safely and Thoughtfully
Thermal imagers make inspection easy, but remember: they only see heat — they don’t remove danger. Always maintain a safe distance when checking high-voltage systems, machinery, or hot surfaces. The device helps you observe safely without touching, but your situational awareness is still key.
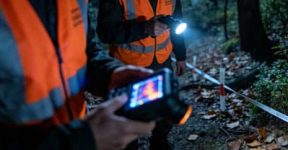
If you’re using it outdoors, secure your surroundings, especially at night. The focus on the screen can make you less aware of where you’re stepping — so stay alert and balanced.
10. Practice Makes Perfect
Thermal imaging is part science, part skill. The more you use your handheld thermal imager, the better you’ll understand what those heat patterns mean. Try scanning familiar objects — your laptop, window frames, or electrical outlets — to build a sense of what “normal” looks like.
Once you get used to interpreting different textures and temperatures, you’ll start noticing subtle differences you’d never spot otherwise. Over time, your eye for thermal detail will sharpen dramatically.
Final Thoughts
A handheld thermal imager is an incredible tool — but like any advanced instrument, it shines brightest when used with understanding and care. By paying attention to emissivity, reflections, environmental effects, and proper handling, you’ll unlock the full potential of this technology.
It’s not just about seeing heat — it’s about reading the story behind it. Whether you’re inspecting a building, maintaining equipment, or exploring nature at night, these small habits and insights will help you capture accurate, reliable, and fascinating thermal images every time