



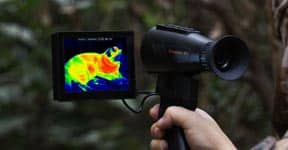
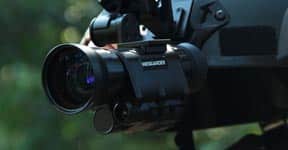
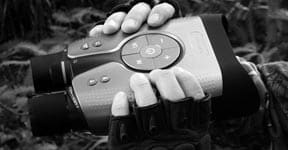
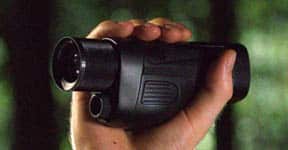
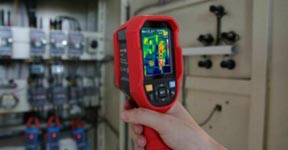
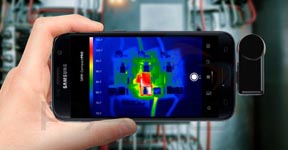
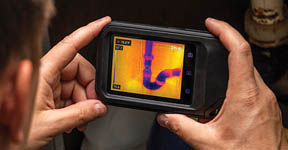
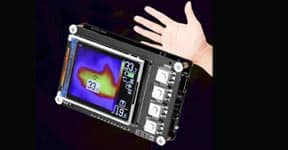




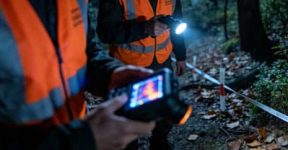

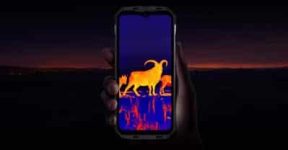
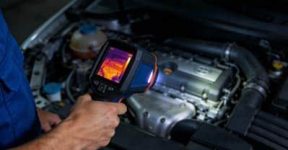
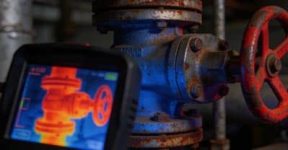
A handheld thermal imager is one of those tools that seem almost magical the first time you use it — you point it at a wall, a ceiling, or a machine, and suddenly you can see heat. Hidden leaks, electrical faults, insulation gaps, or even overheated bearings become visible right in front of you.
But while the idea is simple, using it effectively requires a bit of technique. Whether you’re checking your home for energy loss or inspecting equipment at work, learning how to use your thermal imager properly can make the difference between guessing and knowing.
Here’s a step-by-step guide to help you get the most out of your handheld thermal imager — from setup to expert-level use.
1. Getting Started: Know Your Device
Before you even start scanning, spend a few minutes familiarizing yourself with your device’s layout and settings.
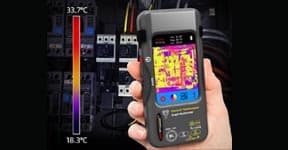
Most handheld thermal imagers include:
-
A display screen (showing the thermal image in real time)
-
Adjustable color palettes
-
Temperature scale settings
-
Focus or field-of-view control
-
Image and video recording options
Make sure the lens is clean and the battery is charged. If the device has an automatic calibration feature, let it complete that before scanning — this helps ensure temperature accuracy from the start.
2. Understanding What You See
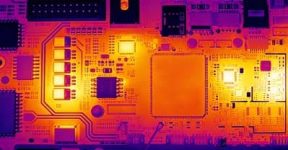
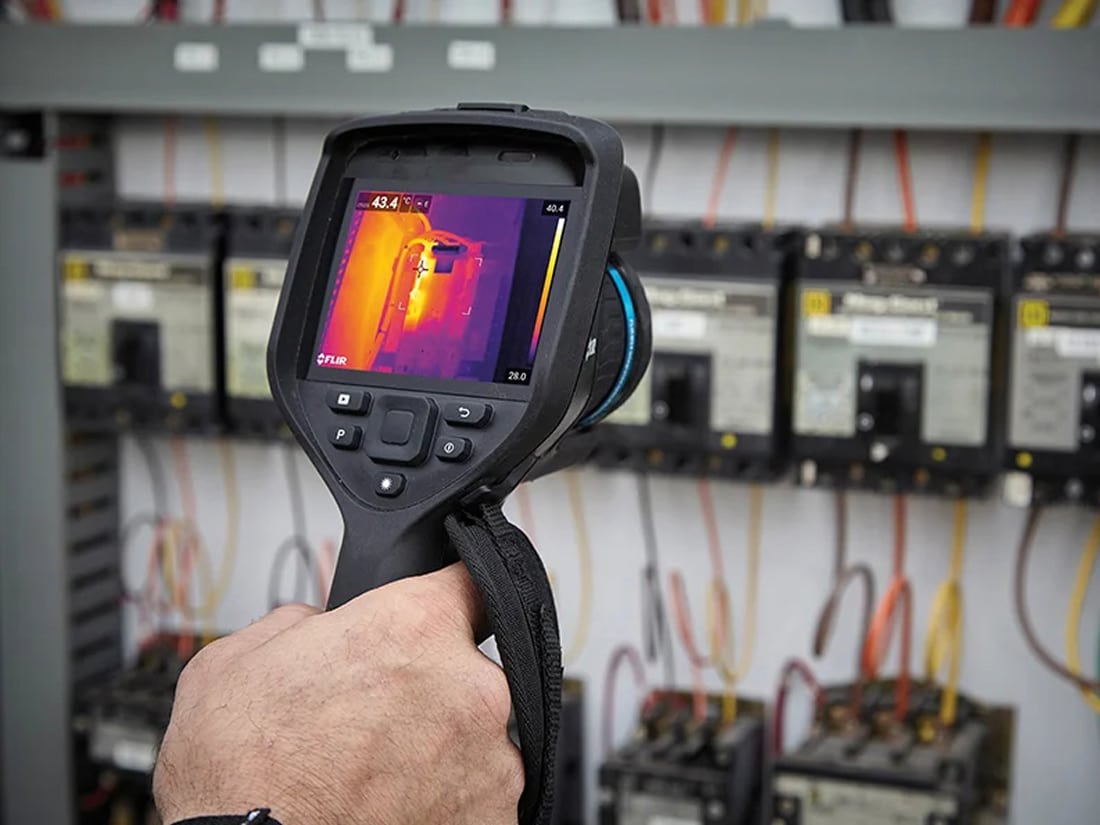
Thermal imagers don’t show visible light — they detect infrared radiation (the heat energy that all objects emit). The display translates temperature differences into colors:
-
Red, yellow, and white indicate warmer areas.
-
Blue, purple, and black show cooler spots.
By reading these color gradients, you can instantly identify temperature irregularities — like a warm water pipe behind a wall, a drafty window, or a motor part that’s heating unevenly.
Remember: thermal images show surface temperature, not what’s inside. Interpreting them correctly takes a bit of practice, especially in environments with reflective or shiny surfaces.
3. Finding Hidden Leaks and Energy Loss
One of the most common uses for handheld thermal imagers is detecting hidden leaks — both air and water.
To do this effectively:
-
Scan walls, ceilings, and floors slowly, looking for cooler patches that indicate moisture.
-
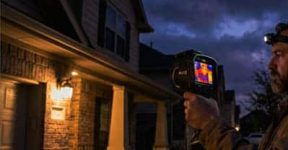
For air leaks, focus on window frames, doors, and ventilation systems.
-
For plumbing leaks, check under sinks, around toilets, or near bathtubs — cooler zones often reveal hidden dampness.
If you’re inspecting insulation, look for uneven colors: a consistent tone means good insulation, while sudden cold streaks signal gaps where heat escapes.
You’ll be surprised how much energy you can save just by spotting what’s invisible to the naked eye.
4. Electrical and Mechanical Inspections
Another powerful application is in preventive maintenance.
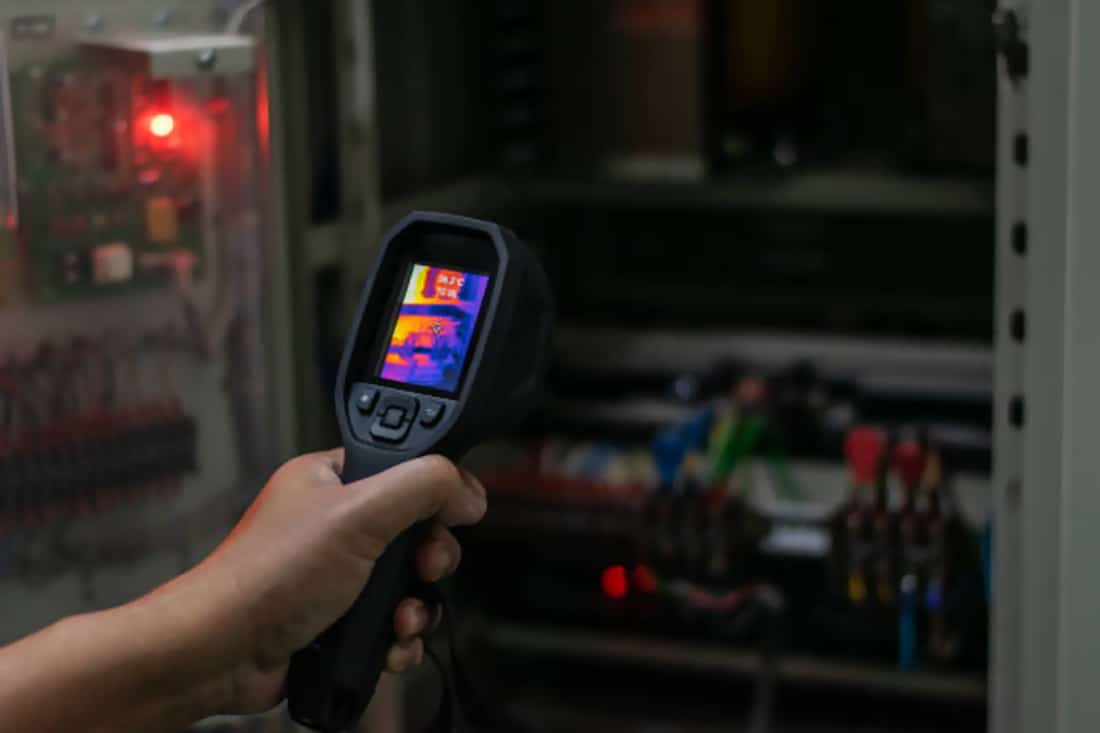
When you scan electrical panels or machinery with your handheld thermal imager, any component that’s working abnormally hard — like a loose connector, overloaded wire, or misaligned bearing — will emit extra heat.
Use the thermal image to compare similar components. If one fuse or cable is noticeably hotter than others, that’s your first sign of potential trouble.
This method helps catch problems before they lead to downtime or costly repairs — which is why thermal imaging has become a go-to tool in industrial maintenance.
5. Adjusting Settings for Better Accuracy
The accuracy of your readings depends heavily on how you set up the imager. Here are a few key tips:
-
Emissivity: Different materials emit heat differently. Adjust emissivity settings (usually between 0.80–0.98) to match the surface you’re scanning — for example, matte walls vs. shiny metal pipes.
-
Focus: A blurry image means inaccurate temperature readings. Always fine-tune focus for sharp edges.
-
Color Palette: Switch palettes based on your environment — “Ironbow” for industrial use, “Rainbow” for detail, or “Grayscale” for subtle temperature contrast.
-
Distance: The closer you are, the more accurate your reading. Stay within the optimal focus range listed in the user guide.
These adjustments take seconds but can dramatically improve your imaging results.
6. Capturing and Analyzing Images
Most modern handheld thermal imagers let you capture photos or videos for later analysis.
When recording, try to:
-
Include reference points (like labels or visual markers) in your image.
-
Save both the thermal and visible-light images (many devices offer dual capture).
-
Use software to analyze the images, compare temperature points, or create inspection reports.
This feature is particularly useful for documenting repairs, monitoring progress, or sharing findings with clients or colleagues.
7. Avoiding Common Mistakes
Even experienced users sometimes misread thermal data. Here are a few things to avoid:
-
Don’t assume a cold spot always means moisture — airflow or material changes can also cause it.
-
Avoid scanning shiny metal surfaces directly; they reflect heat and distort readings.
-
Never use a thermal imager through glass — infrared waves don’t pass through transparent materials the same way light does.
-
Give the device time to stabilize when moving between hot and cold environments.
Awareness of these small factors can save you from false conclusions.
8. Keeping Your Imager in Top Shape
A handheld thermal imager is a precision tool — a little care goes a long way.
Store it in a dry place, avoid extreme temperatures, and clean the lens regularly with a soft cloth.
If the imager has removable batteries, charge them periodically even when not in use to prevent degradation.
And remember to update its software when new firmware becomes available — improvements often enhance performance and accuracy.
9. When to Use Other Thermal Tools
While handheld imagers are perfect for flexible inspections, there are situations where other tools might be more suitable.
For example:
-
A Pocket Thermal Camera works well for quick home scans or light inspections.
-
A Thermal Imager Multimeter can measure both electrical values and temperature simultaneously.
-
A Thermal Imaging Analyzer provides high-precision results for laboratory or industrial diagnostics.
Choosing the right device for the right task ensures maximum efficiency and reliable readings.
Final Thoughts
Mastering a handheld thermal imager isn’t about having the most advanced equipment — it’s about understanding how to use it smartly.
From tracing leaks and checking insulation to diagnosing electrical faults, it’s one of the most versatile diagnostic tools you can carry.
With just a few minutes of practice, you’ll start noticing details that were once completely invisible — turning every inspection into an accurate, insightful, and surprisingly satisfying process.
Thermal imaging doesn’t just show you what’s hot or cold — it helps you see problems before they happen.