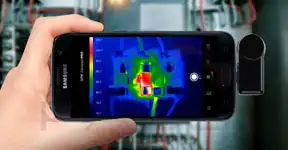
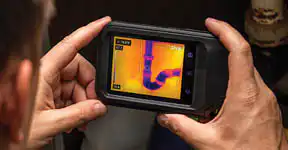
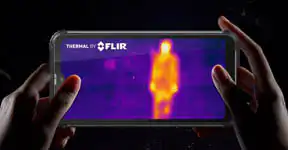
When the sun goes down and the world fades into darkness, a thermal imaging monocular becomes your second pair of eyes. Whether you’re hiking deep in the forest, scouting for wildlife, or navigating a misty night trail, this compact device reveals the unseen—transforming invisible heat into visible images. But with so many specs and features to compare, how do you pick the right one for your outdoor needs? Let’s break it down clearly and practically.
1. What Makes a Thermal Imaging Monocular Special
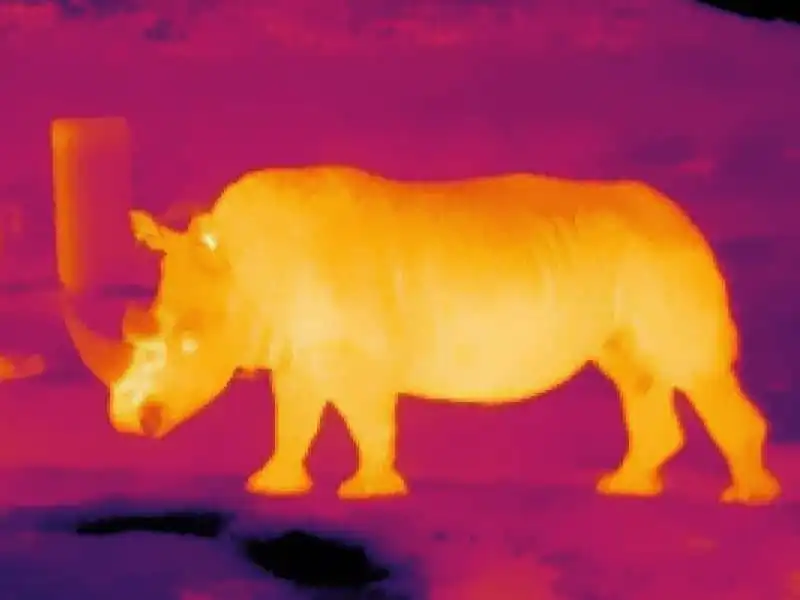
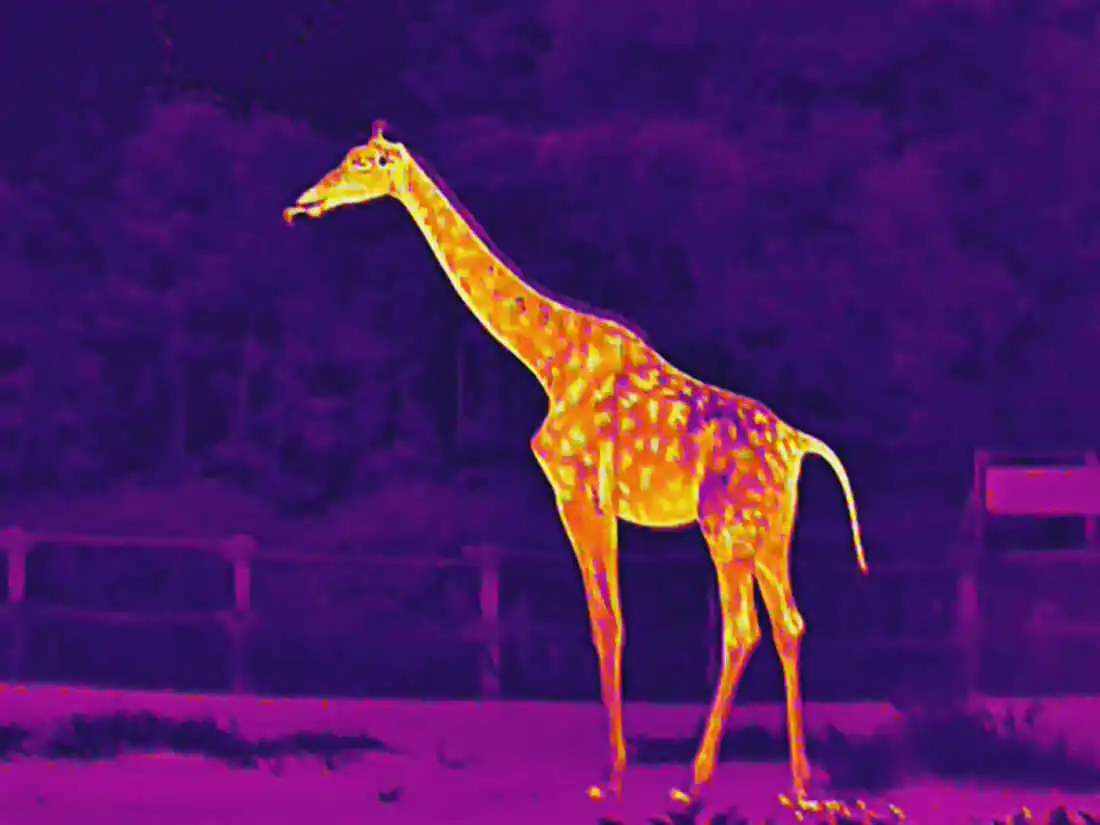
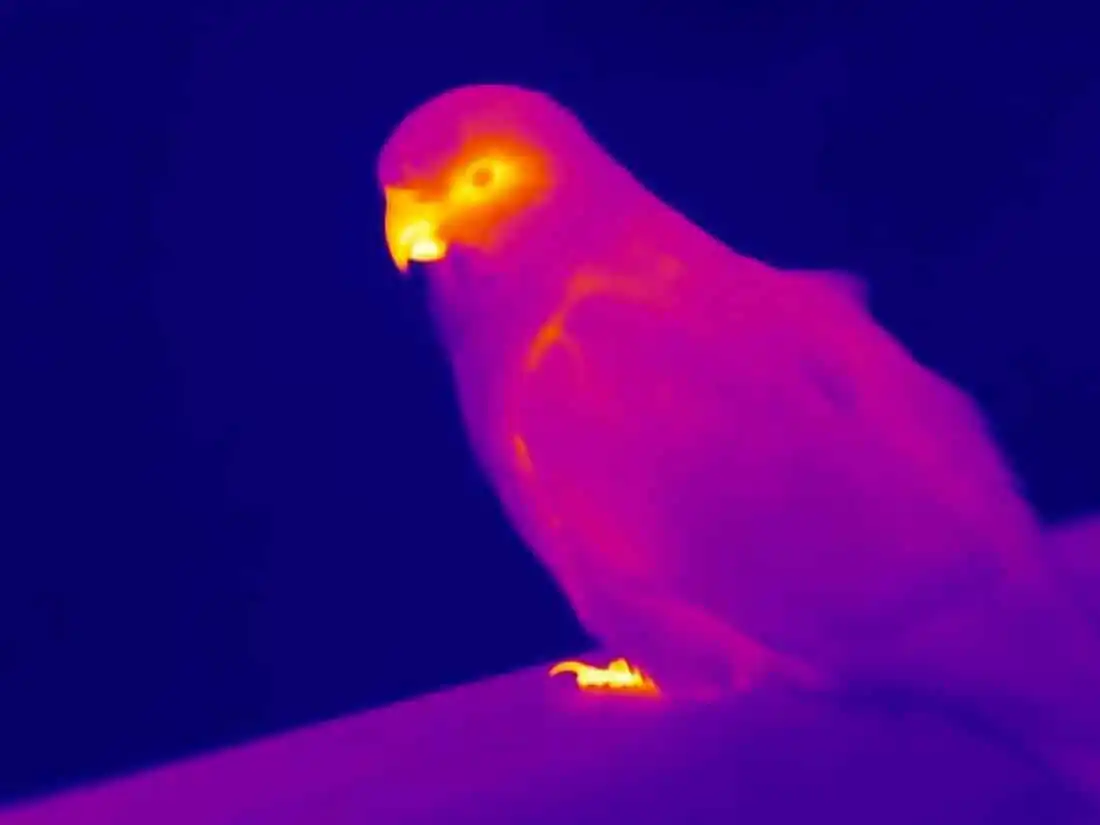
Unlike night vision devices that rely on ambient light, a thermal imaging monocular detects infrared radiation—basically, heat. Every living creature, rock, or even a recently touched object emits some level of thermal energy. The monocular captures these subtle heat differences and converts them into an image you can actually see.
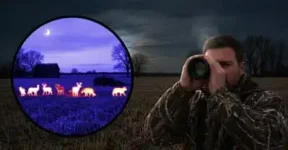
That means total darkness, fog, or thick brush doesn’t stop it from working. You’ll spot a deer hiding in the trees, find your way back to camp, or notice a person in the distance—long before your eyes would. It’s like having a “heat vision” lens that works day and night.
2. Sensor Resolution and Thermal Sensitivity
If you want clear, sharp images, start with the sensor. Think of it as the heart of the monocular.
-
Resolution determines image detail. Common choices are 256×192, 384×288, and 640×480 pixels. The higher the number, the clearer the image and the farther you can identify targets.
-
Sensitivity (NETD) tells you how finely it can detect temperature differences. The smaller the value (like ≤35mK), the better it can spot faint heat signatures—even small animals or footprints.
So if you’re just using it for casual camping, mid-range specs are fine. But if you’re into wildlife observation or professional outdoor work, go for higher resolution and lower NETD.
3. Lens and Field of View: Distance vs. Coverage
The lens diameter decides how far and how wide you can see. A large lens (say 35mm or 50mm) captures more heat energy and gives you longer detection range—great for open fields or distant observation.
But here’s the trade-off: a wider field of view means you can scan larger areas faster, which is perfect for exploring forests or monitoring moving targets.
Ask yourself what you’ll use it for.
4. Refresh Rate and Image Smoothness
Ever tried watching a laggy video? That’s what a low refresh rate feels like.
A thermal monocular with 50Hz or 60Hz refresh rate keeps motion fluid and natural—important when you’re walking, scanning, or following something that’s moving. Cheaper models sometimes use 25Hz, which can look a bit jumpy. If you want a smoother, more comfortable viewing experience, especially for dynamic environments, stick to higher refresh rates.
5. Display Quality and Color Palettes
Inside the monocular, the display converts those infrared signals into images you can interpret. OLED screens are popular—they offer good contrast, sharpness, and better visibility in low light.
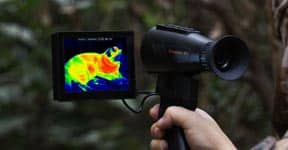
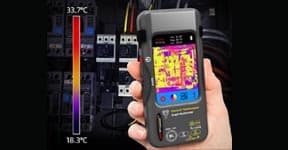
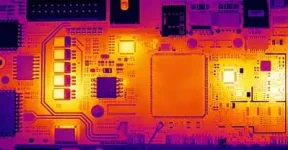
Most devices also offer multiple color palettes. “White hot” and “black hot” are the most common—great for general use. “Iron red” or “rainbow” palettes, on the other hand, highlight temperature differences vividly, helping you identify small but important details like warm footprints or hidden heat sources.
Try different palettes during your first few uses; you’ll quickly find one that fits your eyes and your environment best.
6. Portability, Battery Life, and Build Quality
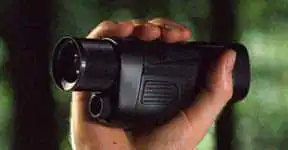
One of the best things about a thermal monocular is its portability. They’re small enough to slip into a jacket pocket or hang around your neck—ideal for travelers and outdoor enthusiasts.
Still, pay attention to battery life. Outdoor conditions can be unpredictable, and running out of power halfway through the night isn’t fun. Look for models that can last 6–10 hours on a single charge, or that support power banks for extended trips.
Also, consider the build quality—a rugged, weather-resistant shell will protect your monocular from dust, rain, and accidental drops.
7. Extra Features Worth Considering
Modern thermal monoculars often come with smart touches:
-
Wi-Fi connectivity for real-time viewing on your phone or tablet.
-
Photo and video recording so you can capture what you see and review it later.
-
Digital zoom for a closer look at distant objects.
These aren’t must-haves, but they do make the experience more versatile and fun.
8. Final Thoughts: Find What Fits Your Adventure
There’s no single “best” thermal imaging monocular—it’s all about matching your lifestyle.
If you love long-range observation, go for high resolution and a big lens.
If you’re more of a night hiker or camper, prioritize lightness, a wide field of view, and longer battery life.
At the end of the day, a thermal imaging monocular isn’t just a gadget—it’s a tool that helps you see beyond darkness, uncover hidden details, and explore nature in a completely new way. Choose wisely, and the world after sunset will never look the same again.