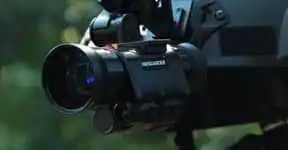
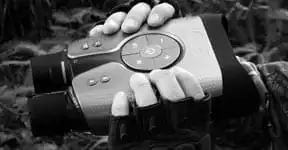
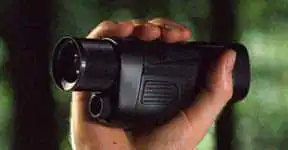
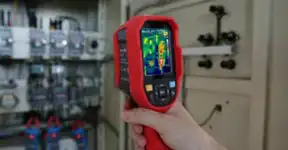
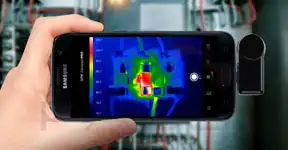
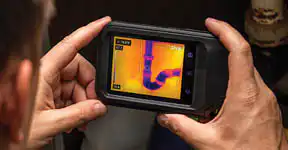
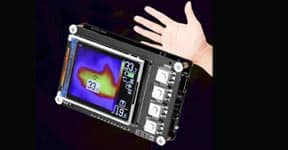
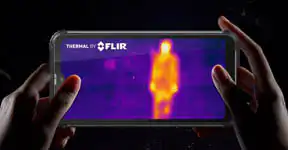
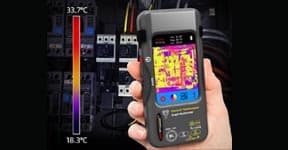
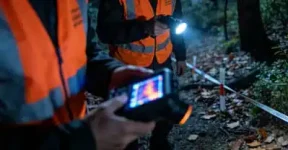
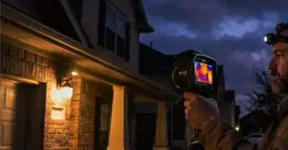
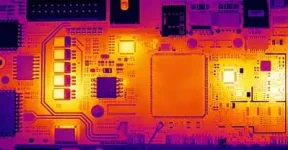
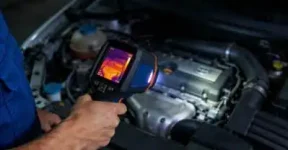
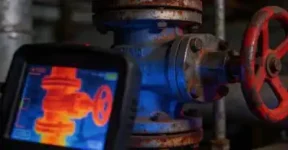
Thermal infrared cameras are becoming increasingly popular tools across a range of fields — from home inspection and circuit board testing to industrial maintenance and research. They provide the power to “see” heat, revealing temperature differences that the human eye can’t detect. However, to truly benefit from their capabilities, users need to understand the correct way to operate and interpret them. Let’s take a closer look at how to properly use a thermal infrared camera for reliable, accurate, and meaningful results.
1. Start with a Basic Understanding of How It Works
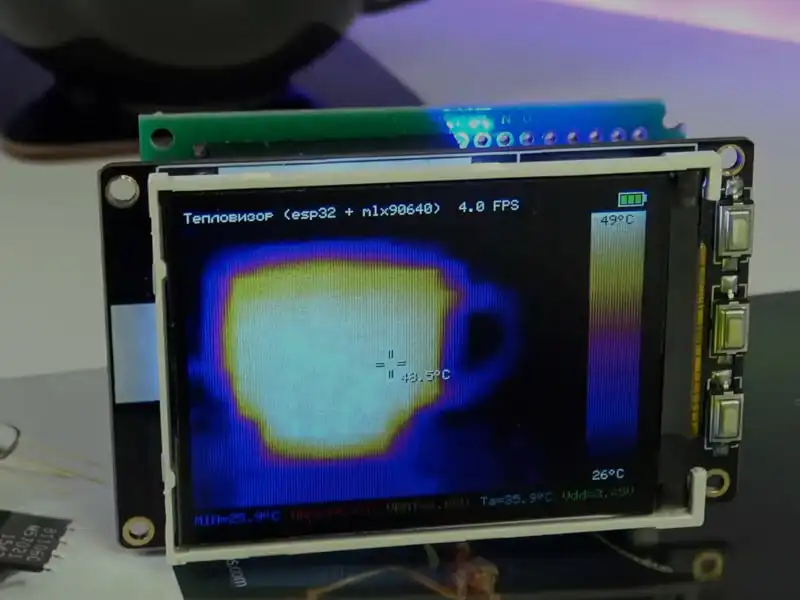
A thermal infrared camera doesn’t capture visible light — it detects infrared radiation emitted by objects based on their temperature. Every object above absolute zero emits some level of infrared energy. The camera’s sensor translates this radiation into a visual image that uses color gradients to represent different temperature levels.
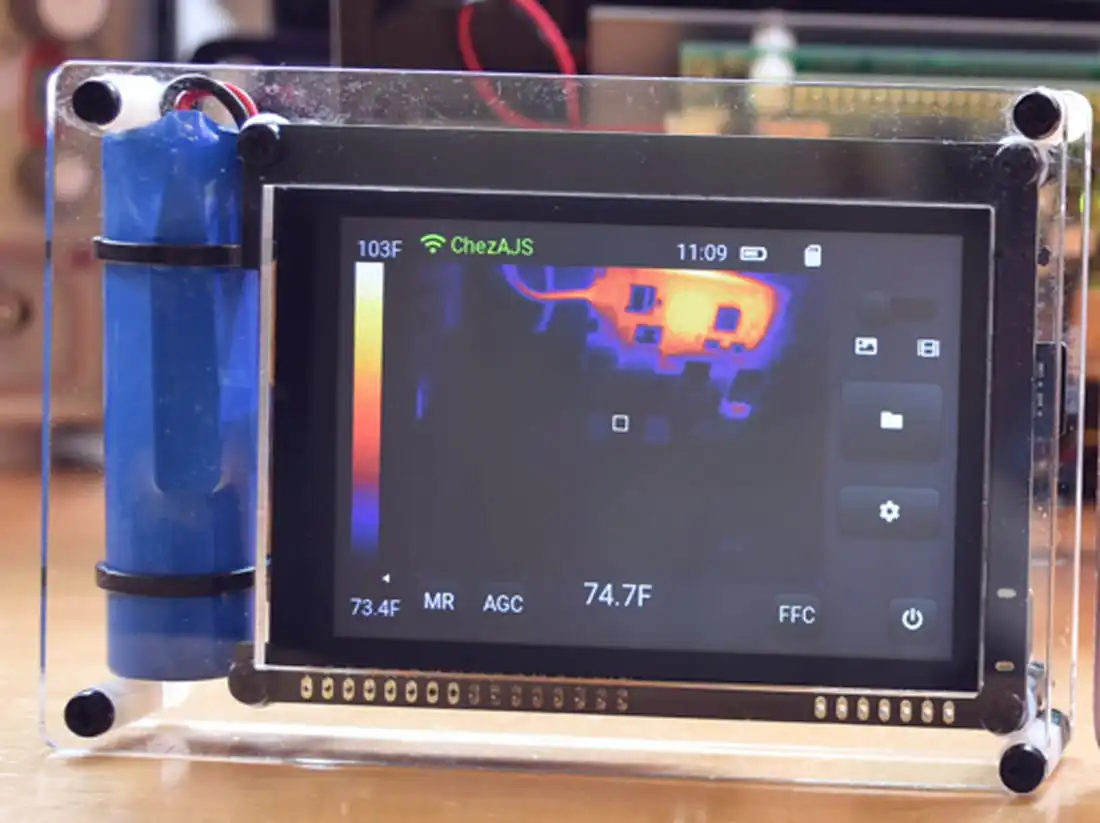
In short, the image you see is not what your eyes would perceive, but a temperature map. Brighter colors often indicate higher heat levels, while darker shades represent cooler areas. Understanding this fundamental concept is key to interpreting the images correctly.
2. Calibrate the Camera Before Each Use
For accurate results, calibration is essential. Each working environment can have unique lighting conditions, humidity, and ambient temperature — all of which may affect readings.
Before beginning an inspection, take a few moments to:
-
Set the emissivity according to the material you’re testing. Painted surfaces, metals, and plastics have different emissivity levels.
-
Select the correct temperature range. Too wide a range may blur subtle temperature variations, while too narrow may distort the data.
-
Focus carefully. Even a slightly blurred image can lead to incorrect readings, especially when inspecting small components.
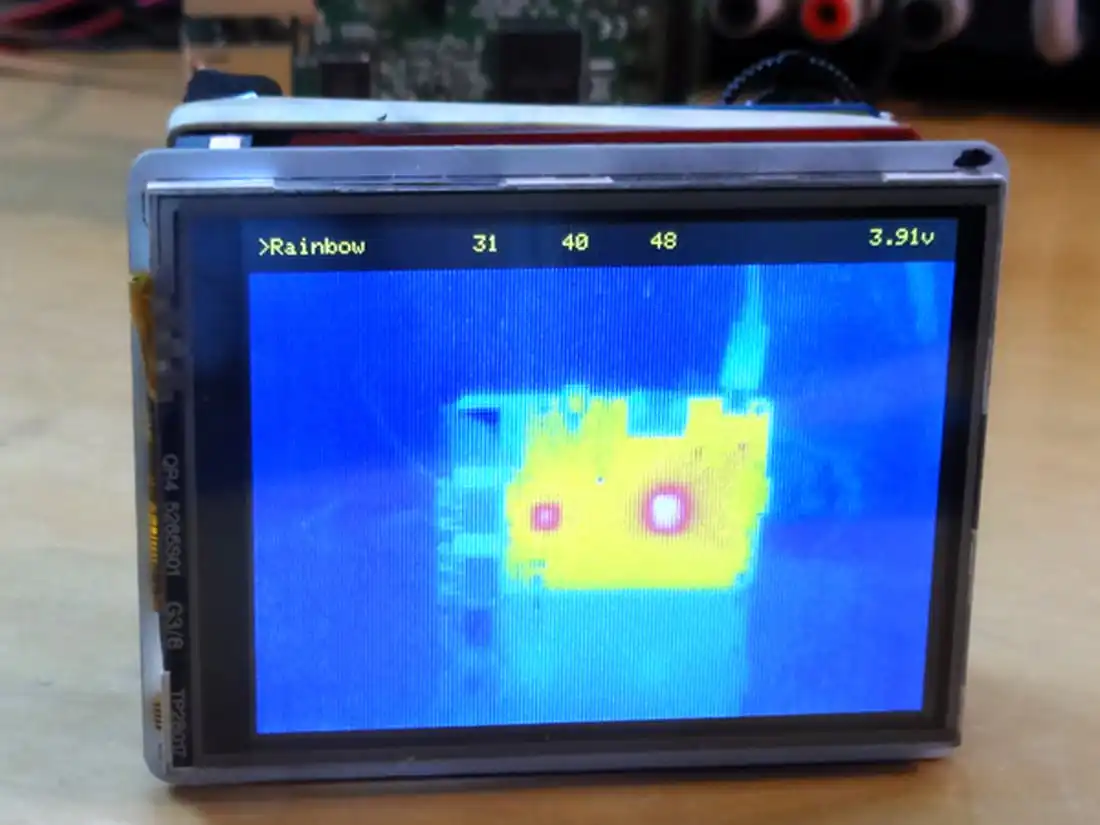
This step is especially important when performing close-up inspections, such as examining circuit boards or checking for heat buildup in compact devices.
3. Manage Environmental Interference
Thermal readings can easily be influenced by the surrounding environment. Reflections from shiny surfaces, strong sunlight, or air currents can distort your data.
To ensure consistency:
-
Avoid scanning reflective or metallic surfaces directly — angle the camera slightly to minimize glare.
-
Perform tests in stable temperature environments whenever possible.
-
Shield the target area from strong wind or direct sunlight during inspection.
By minimizing external interference, you’ll get a more reliable thermal image and prevent false “hot spots.”
4. Keep a Stable Distance and Angle
Distance plays a crucial role in accuracy. Standing too far away may reduce image clarity, while being too close can cause the heat signature to oversaturate. Maintain a steady, appropriate distance recommended by your device’s specifications.
Angle also matters — a perpendicular view to the object surface generally provides the most accurate temperature reading. When scanning detailed objects (like small electronics or mechanical parts), capturing images from multiple angles can help confirm findings.
5. Interpret Thermal Images Correctly
A thermal image isn’t just about spotting bright and dark areas — it requires context. For example, a bright spot might look like overheating, but could instead be a reflection or simply part of the component’s normal operation.
To avoid misinterpretation:
-
Always compare readings with known temperature data or baseline measurements.
-
Check whether the heat source is active or passive.
-
If possible, confirm findings with another tool, such as a temperature probe or multimeter.
Thermal images tell a story — understanding the environment and object behavior helps you read it accurately.
6. Practice Safe Handling and Proper Storage
Even compact thermal infrared cameras are precision instruments that require care. Always keep the lens clean and free from dust, oil, or fingerprints, as these can distort readings. Use a soft microfiber cloth for cleaning.
Avoid exposing the camera to moisture or extreme temperature changes. When not in use, store it in a protective case, away from direct sunlight or high humidity. Regularly check for firmware updates to maintain software accuracy and improve functionality.
7. Build Experience Through Real Use
Thermal imaging requires experience to master. The more you use your device, the better you’ll understand how different materials, surfaces, and conditions affect readings. Try scanning everyday objects — like household appliances or computer hardware — to get a feel for how temperature variations appear on the display.
With time, you’ll gain an intuitive sense for distinguishing between normal heat signatures and true problem areas.
Conclusion
Using a thermal infrared camera correctly is not just about turning it on and taking pictures — it’s about knowing how to interpret the unseen world of heat. Proper calibration, environmental awareness, and image analysis all contribute to reliable and precise results.
When handled the right way, a thermal infrared camera becomes more than just a gadget — it’s a valuable diagnostic partner that helps uncover issues before they become costly problems. Whether you’re inspecting electrical circuits, testing materials, or conducting research, mastering these techniques ensures every scan gives you clear, actionable insight